Snowflake
Install Snowflake integration
The Snowflake integration can be found here. Please install it in your environments before proceeding with the steps below.
Connecting a Snowflake account
- Click on
Connect Account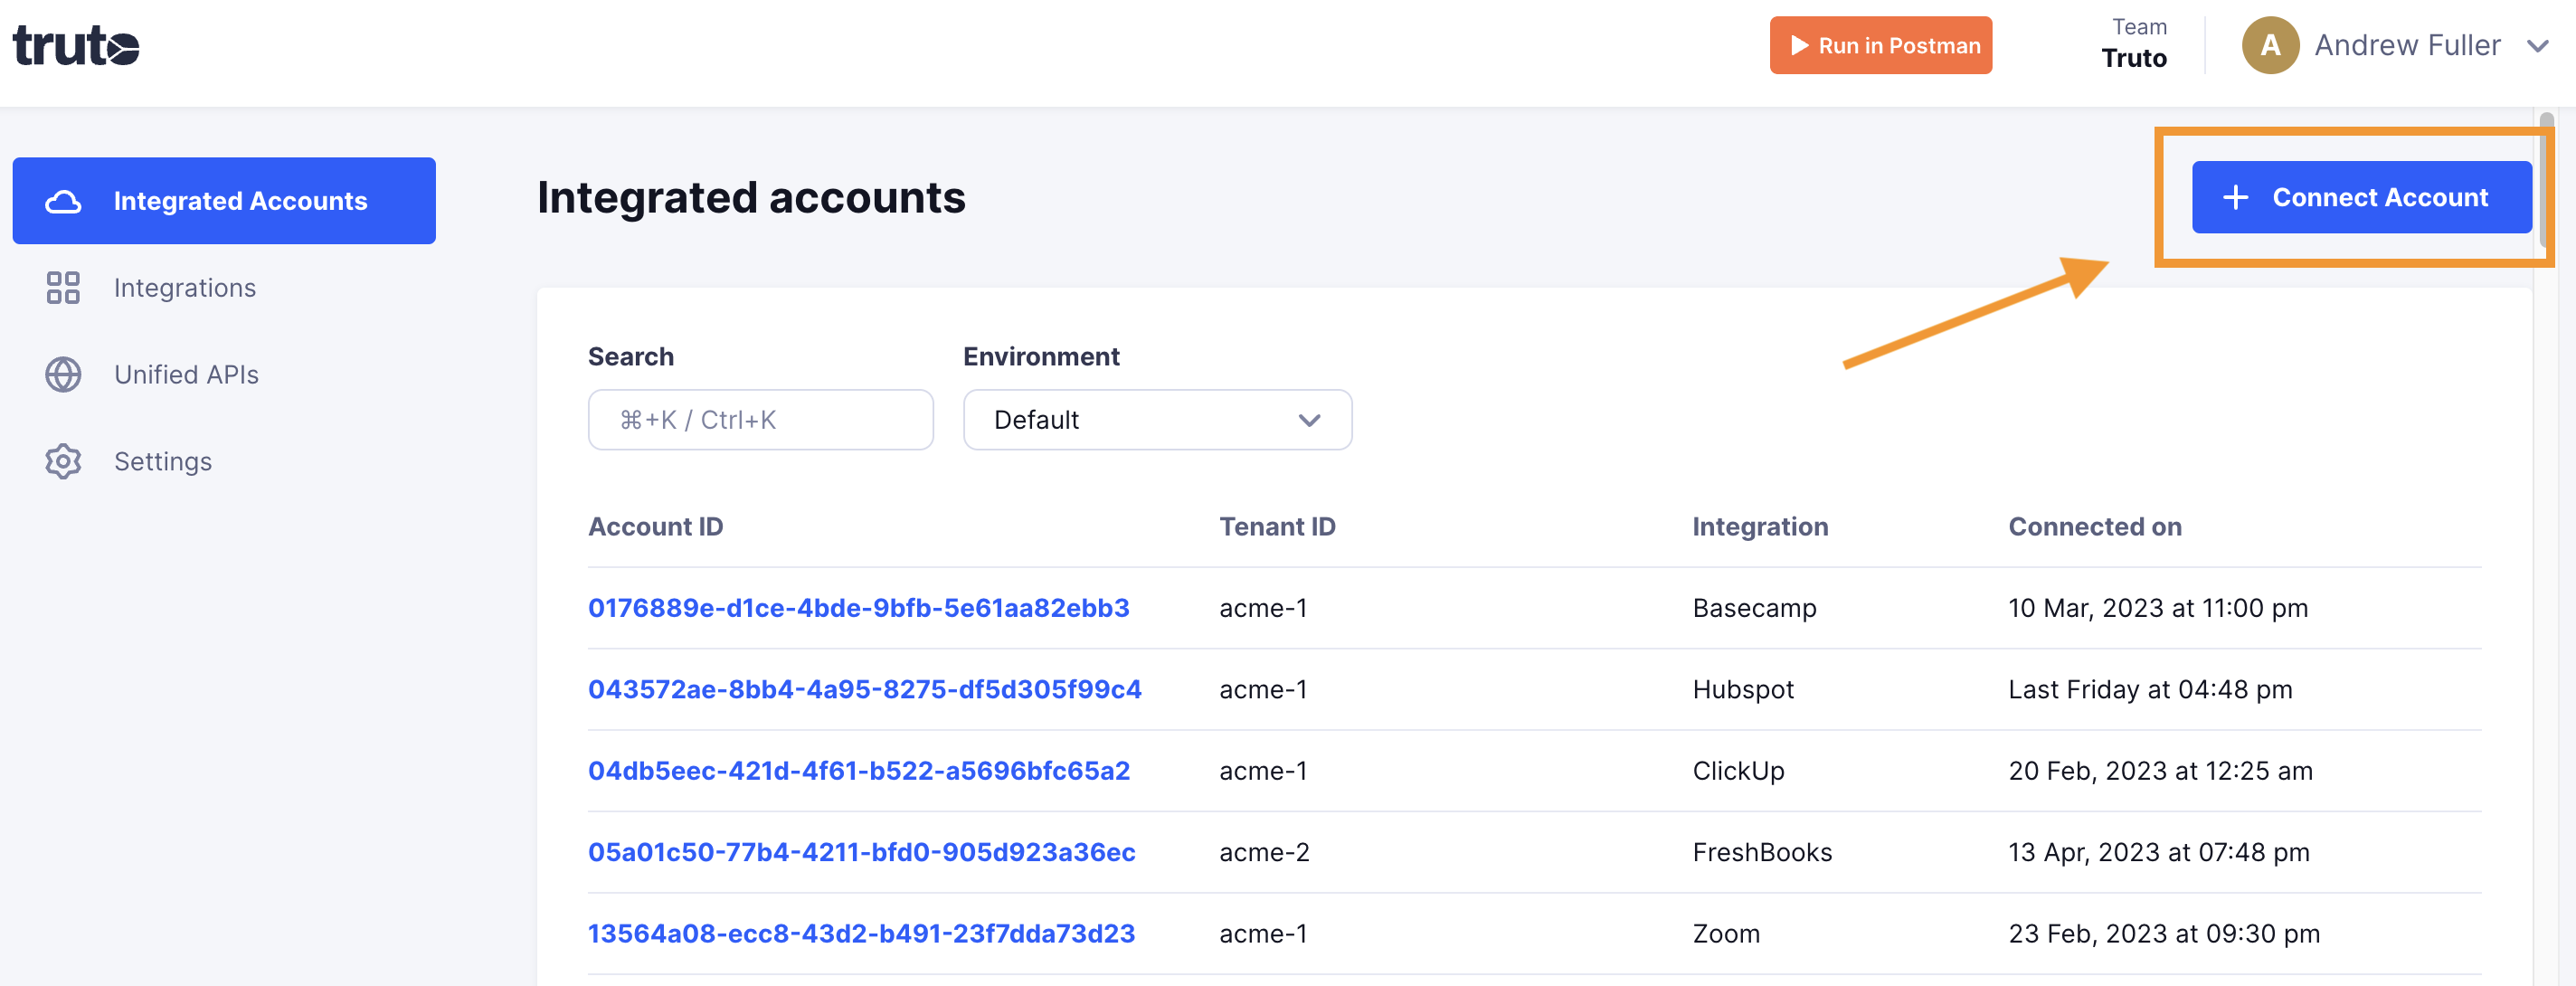
- Type in a value for the Tenant ID. This can be an ID of your choosing. And then click on
Get connection link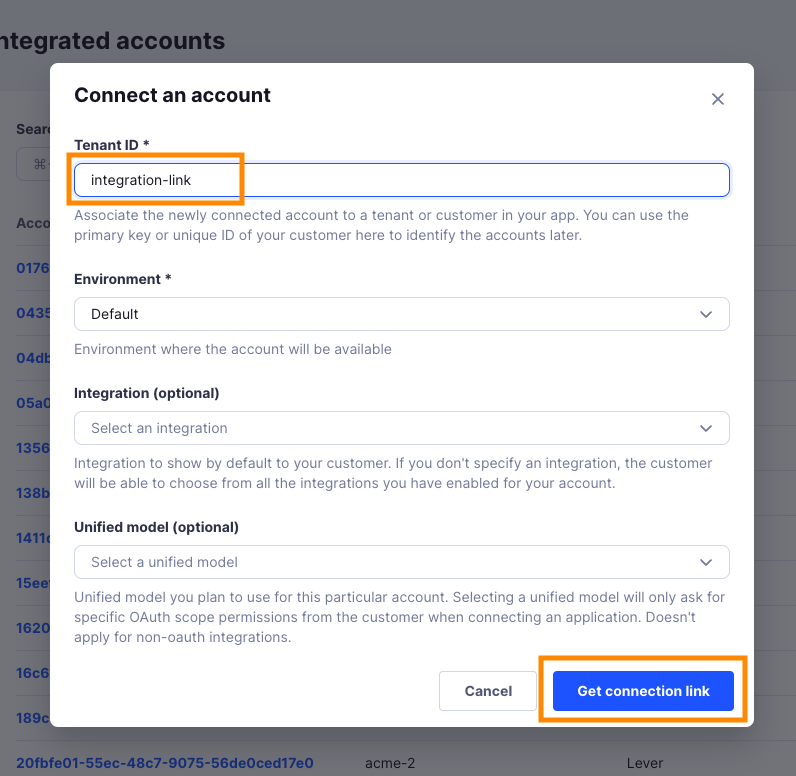
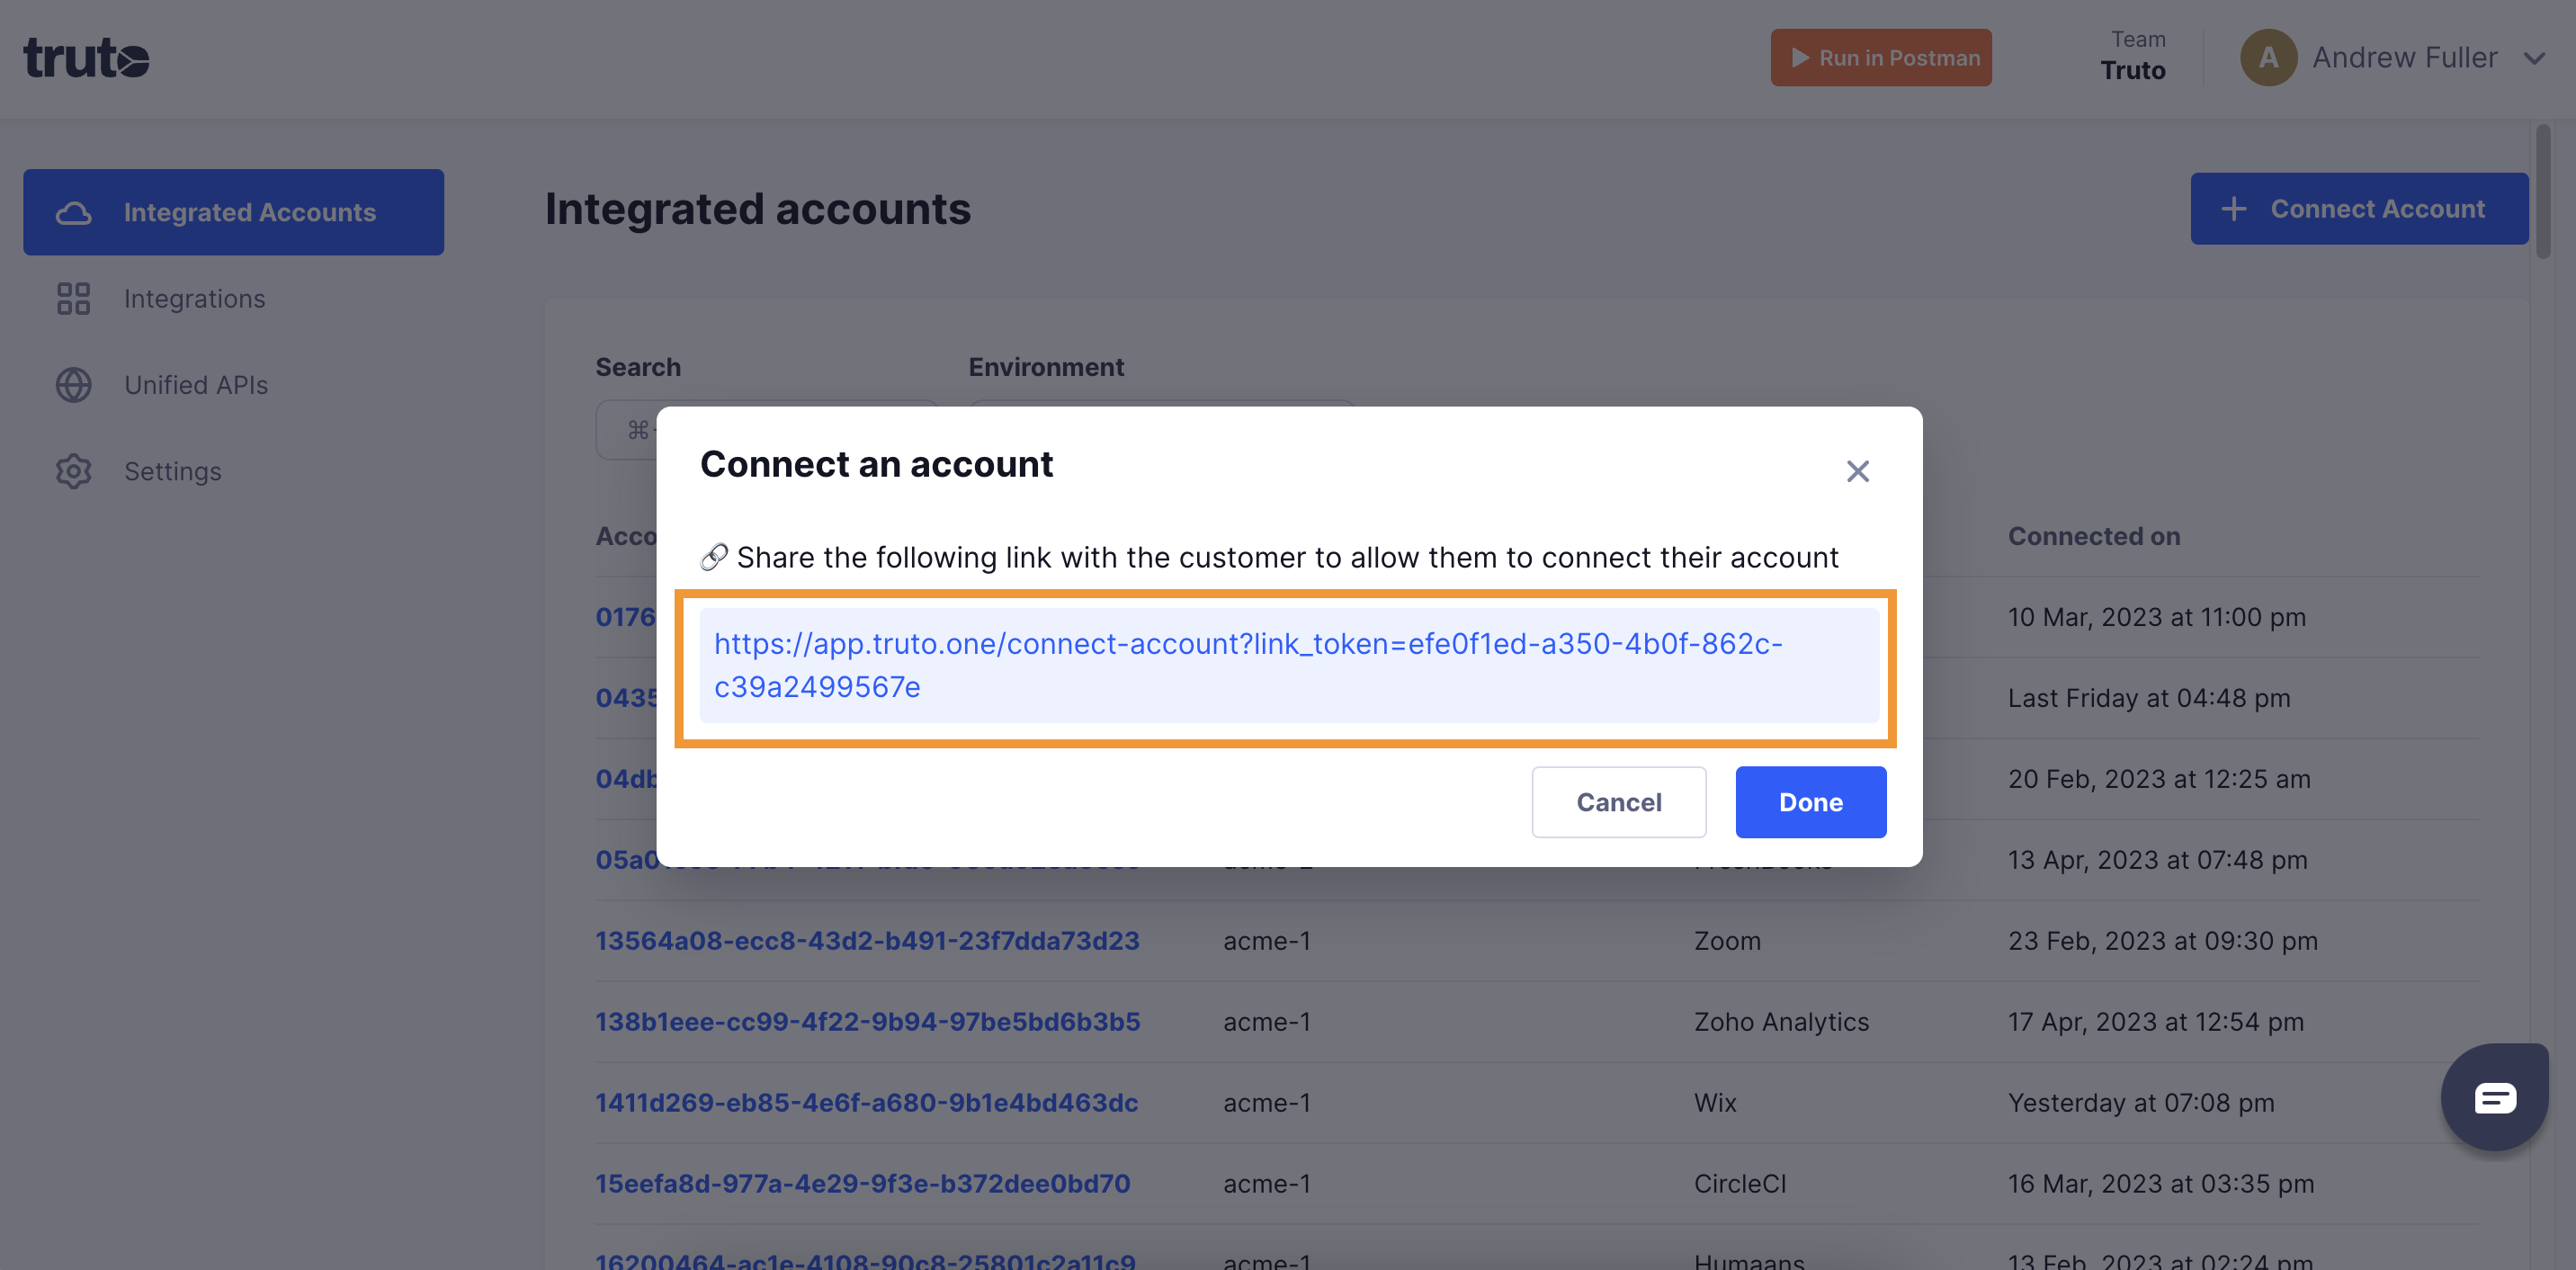
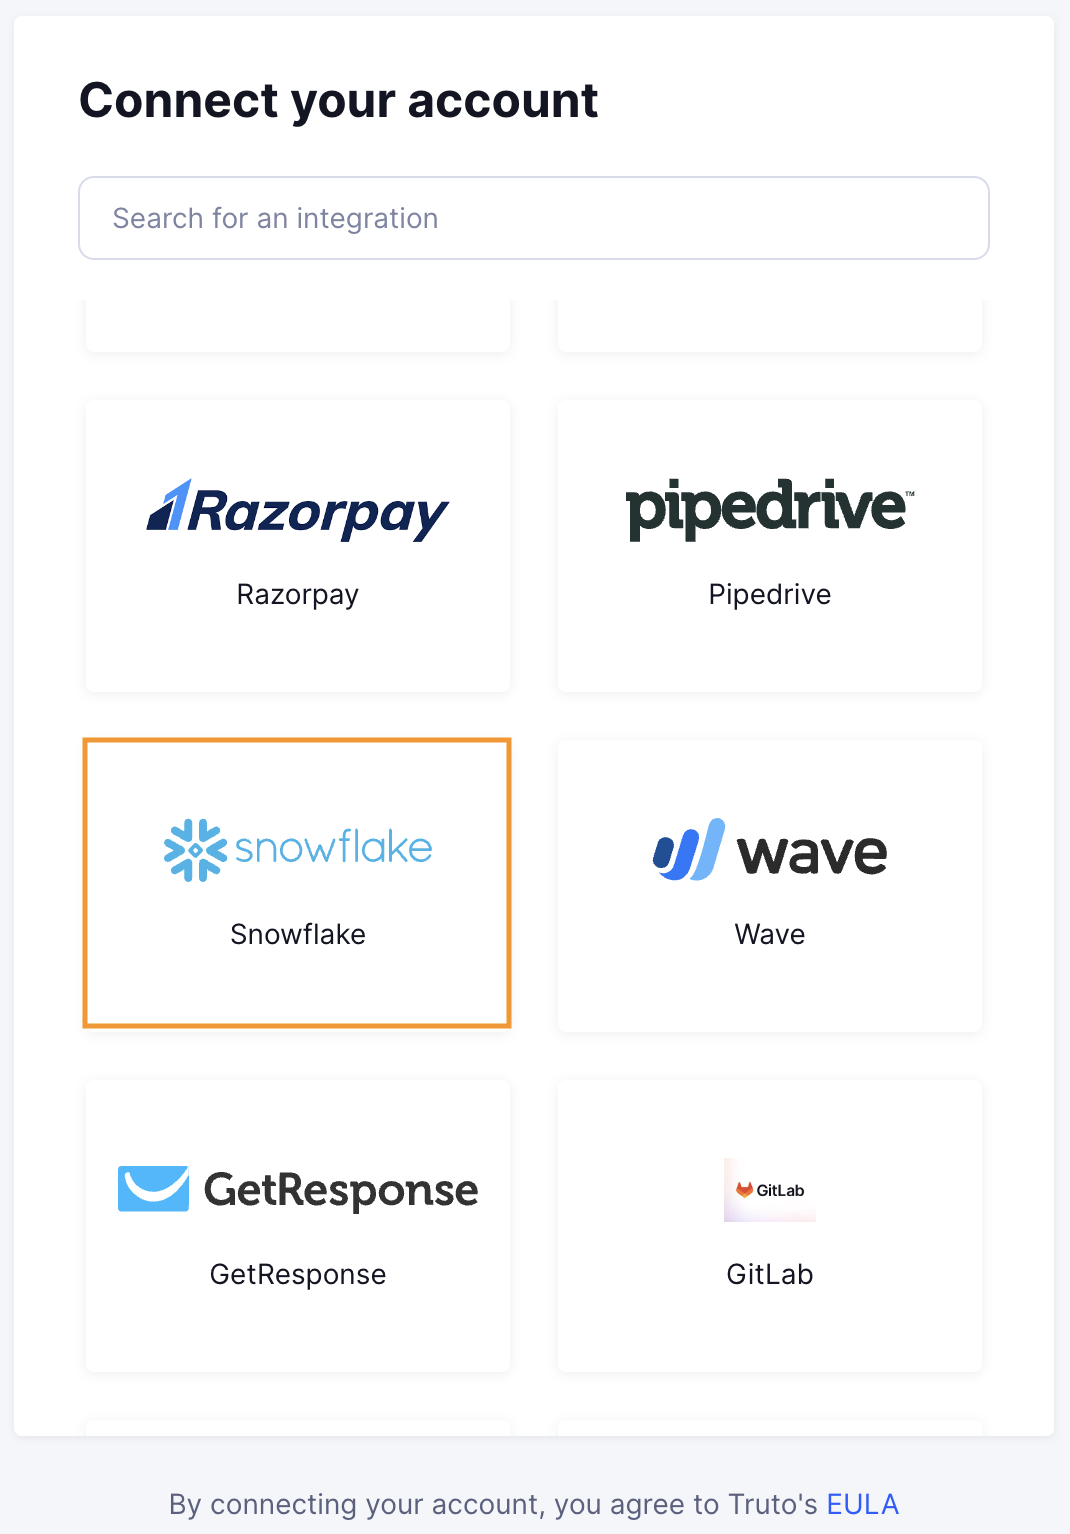
- A new link will be generated. Clicking on the link will open a new tab with the list of integrations. You can share this link with your customers too and they will be able to connect their Snowflake account.
- Select Snowflake
Finding your Account URL, Account Locator, Client ID and Client Secret
Prerequisites for Snowflake Integration
::: warning
- You need to be an
ACCOUNTADMINfor creating an OAuth application in Snowflake. :::
You'll now be prompted to add the Account URL, Account Locator, Client ID and Client Secret.
Finding Account URL and Account Locator
- Sign in to your Snowflake Account.
- In the left navigation bar at bottom, you will find your
Account URLandAccount Locatoras shown below.
- Copy and enter it in Truto interface.
Create your Client ID and Client Secret
- To create your Client ID and Client Secret, Go to
Worksheetsfrom left navigation bar.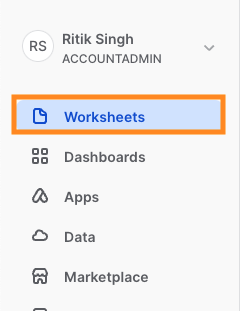
- Click on the
Addbutton and selectSQL Worksheetas shown below.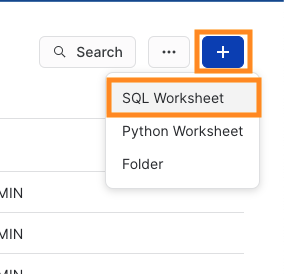
- Make sure that the
DatabaseisSnowflakeand theSchemaisAccount_Usage.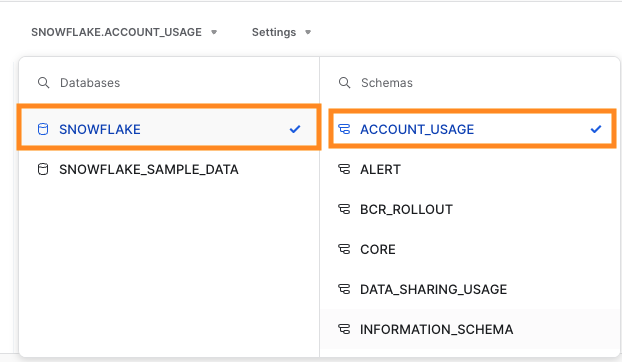
- Now execute below commands in Worksheet to create your OAuth application.
CREATE ROLE TRUTO_ROLE;
::: tip
- You can create any Role name by replacing
TRUTO_ROLEabove. But it should be replaced in all the following commands as well. :::
CREATE SECURITY INTEGRATION
         Truto
         TYPE = OAUTH
         OAUTH_CLIENT = CUSTOM
         OAUTH_CLIENT_TYPE = 'CONFIDENTIAL'
         OAUTH_REDIRECT_URI = 'https://api.truto.one/connect/snowflake/callback'
         ENABLED = TRUE
         PRE_AUTHORIZED_ROLES_LIST = ( 'TRUTO_ROLE' )
         OAUTH_ISSUE_REFRESH_TOKENS = TRUE
         OAUTH_REFRESH_TOKEN_VALIDITY = 7776000
::: warning
OAUTH_REFRESH_TOKEN_VALIDITYcan be set to maximum value of 7776000 seconds (90 Days). After this the integration should be re-authenticated. :::- If you need to raise the maximum value for Refresh Token's validity upto one year, refer to this link.
- To view
Client IDandClient Secretrun the below command in worksheet.
SELECT SYSTEM$SHOW_OAUTH_CLIENT_SECRETS('TRUTO');
-
Copy your
OAUTH_CLIENT_IDandOAUTH_CLIENT_SECRETand enter it in Truto interface asClient IDandClient Secretrespectively.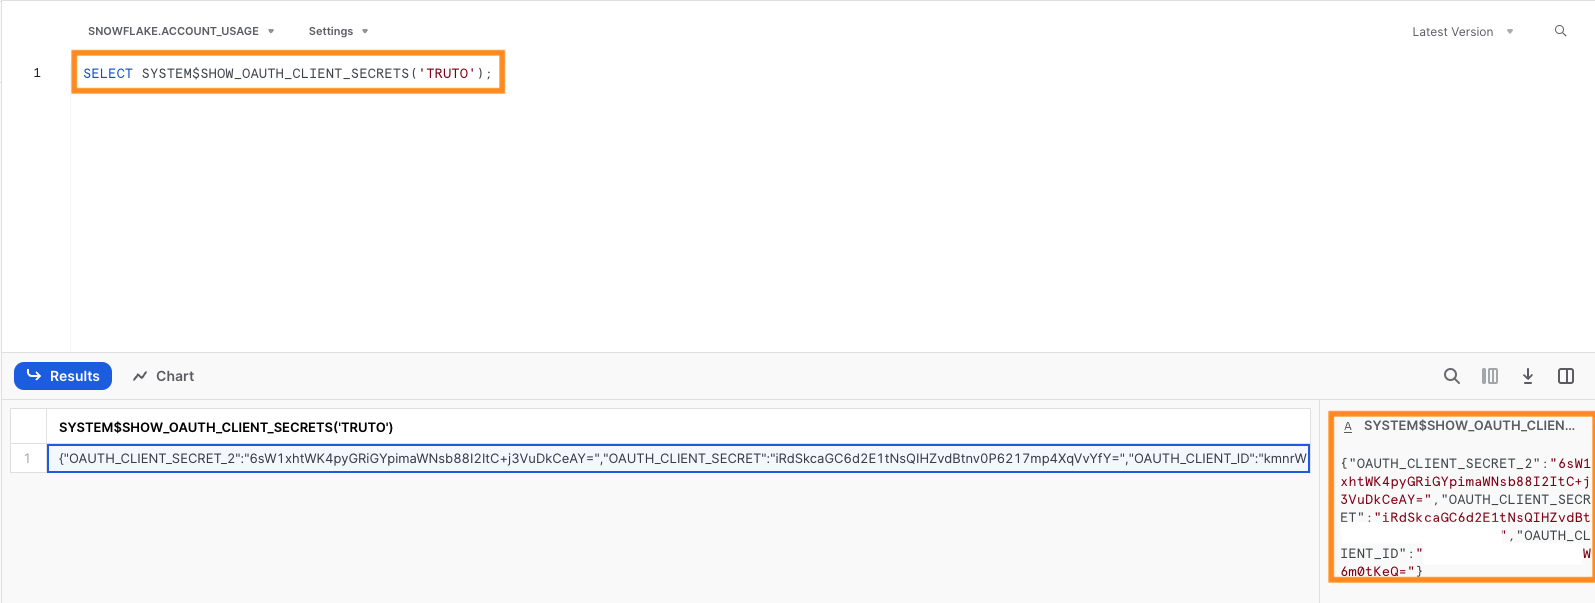
-
Now go to
Users & Rolesfrom left navigation bar as shown below.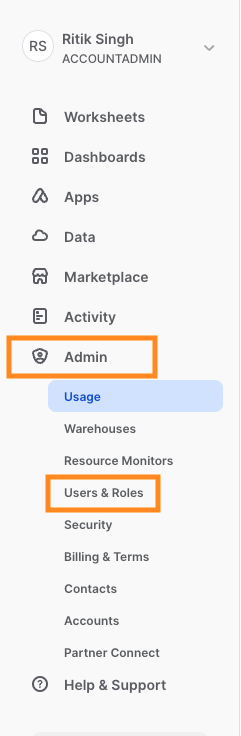
-
Go to
Rolesand selectTRUTO_ROLE.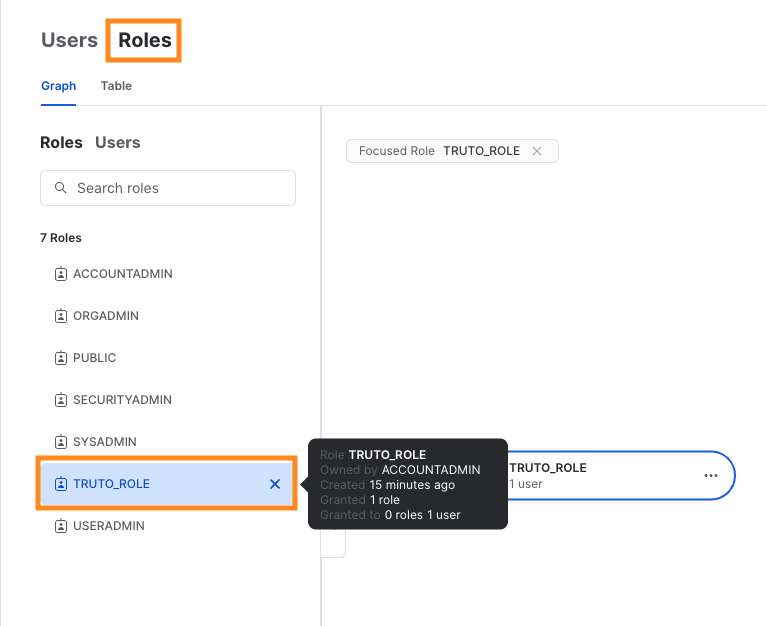
-
Now click on more options in
TRUTO_ROLEand thenGrant to useras shown below.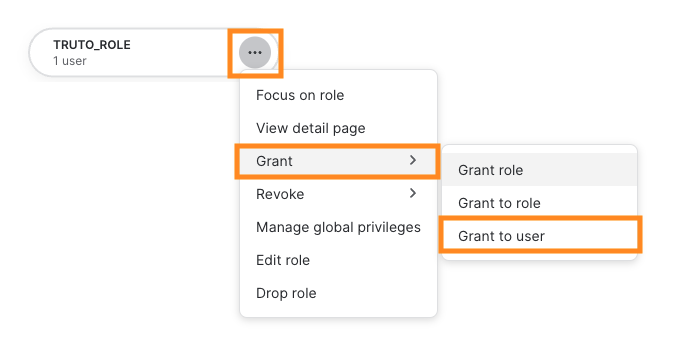
-
Select a user to grant this role and click on
Grant.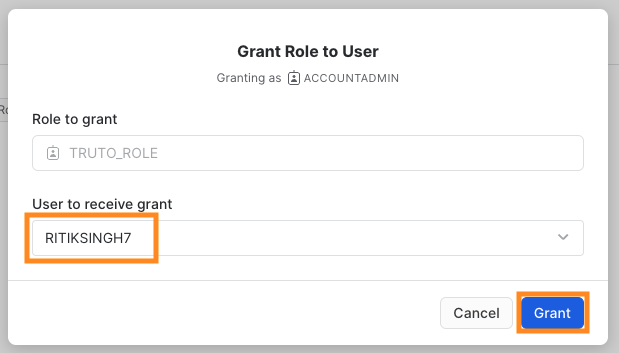
-
Now click on more options in
TRUTO_ROLEagain and thenGrant roleas shown below.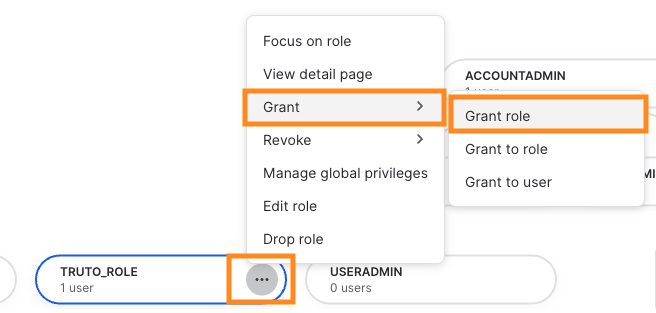
-
Select
ACCOUNTADMINand click onGrant.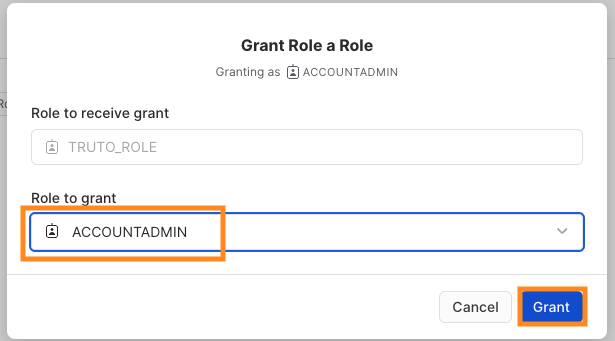
-
Now click on name tab on the top left and then
Switch Roleand underTRUTO_ROLEselectSet as defaultfor now. ::: tip- It is required to complete the OAuth flow with allowed role.You can change it after OAuth flow is completed.
:::

- It is required to complete the OAuth flow with allowed role.You can change it after OAuth flow is completed.
:::
-
After filling the data in Truto, click on
Connect. You'll now be asked to log in to your Snowflake account and allow access to Truto. Go through the steps.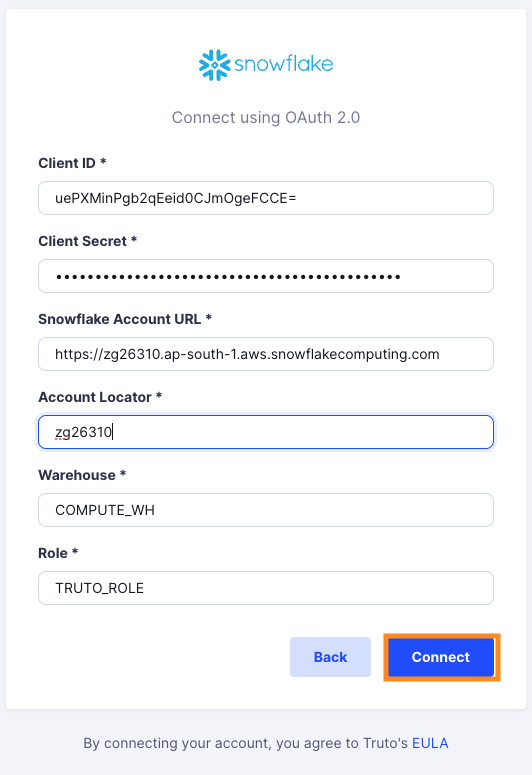
-
Voila! You should now see a connection successful message. You can now close this tab.
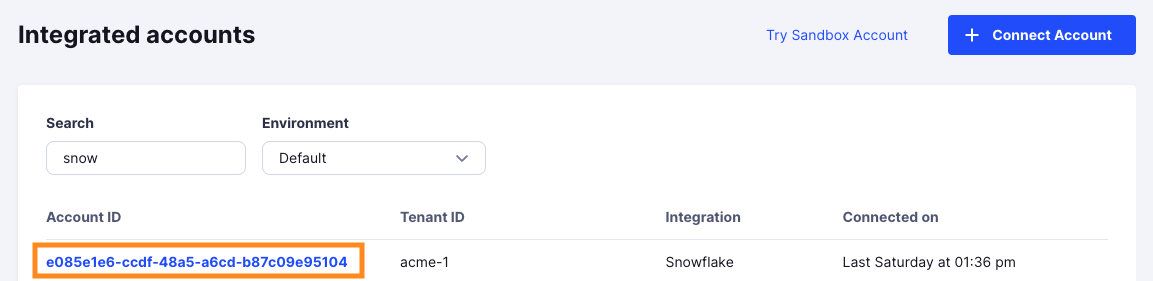
-
Go to your Truto account and you should see the integration under Integrated Accounts. Click on the Account ID to change or edit the integration to suit your needs.
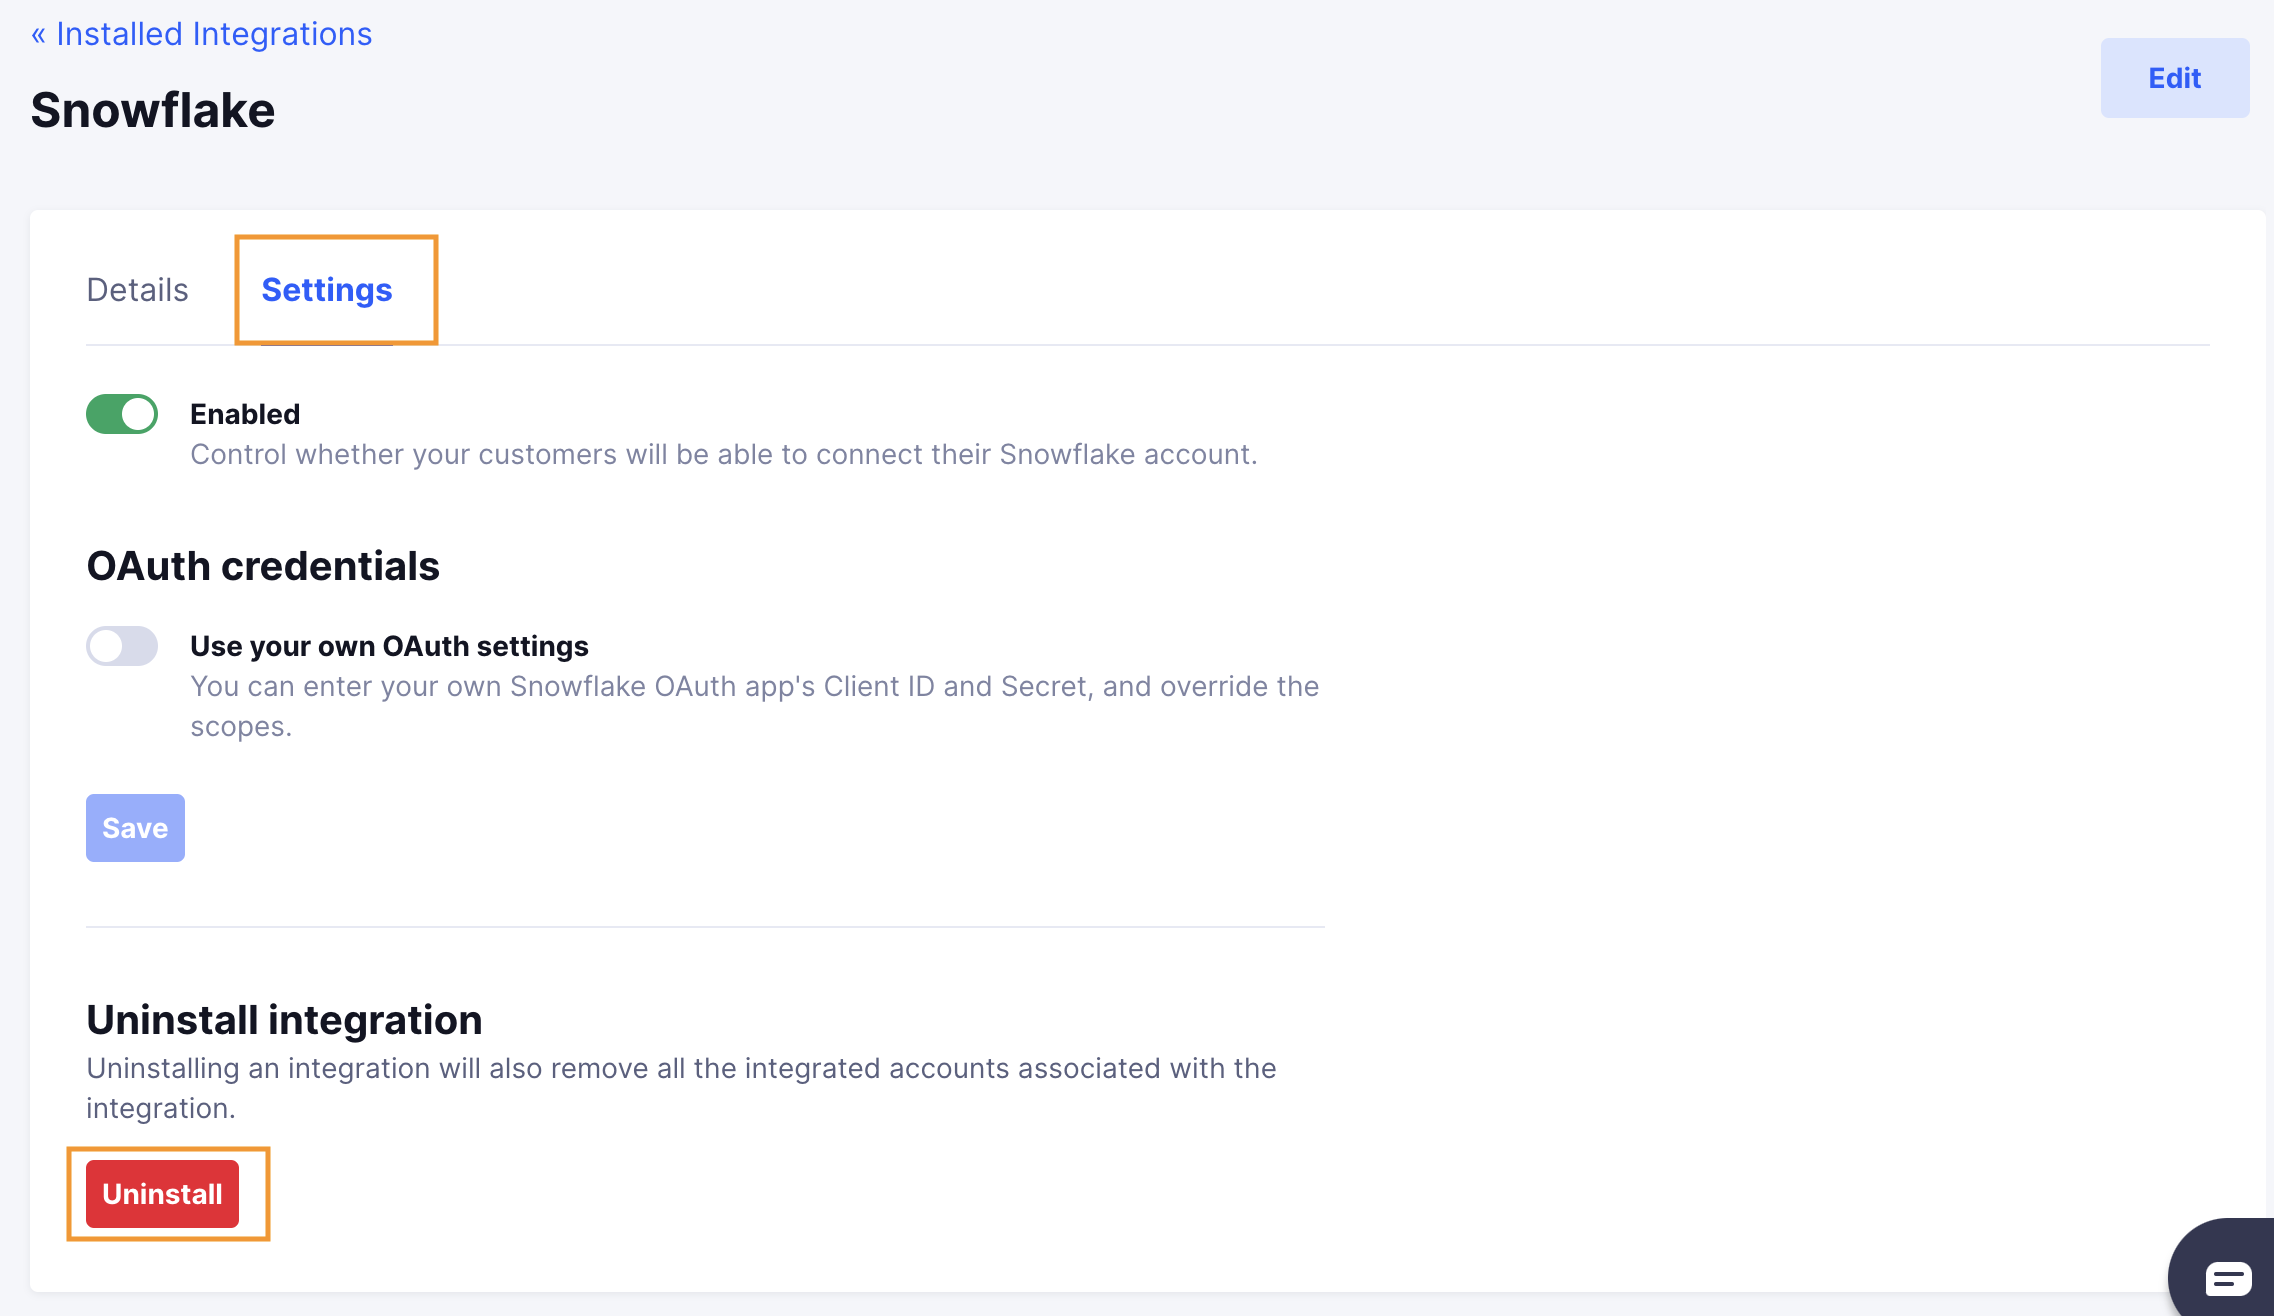
Uninstalling the Snowflake integration
To uninstall the Snowflake integration from your Truto account, select the Snowflake integration from the Integrations tab.
Click on the Settings tab in Snowflake Integration page
And then click on Uninstall. Uninstalling the integration will also remove all the Snowflake integrated accounts from your Truto account.