Sentry
Install Sentry integration
The Sentry integration can be found here. Please install it in your environments before proceeding with the steps below.
Connecting a Sentry account
- Click on
Connect Account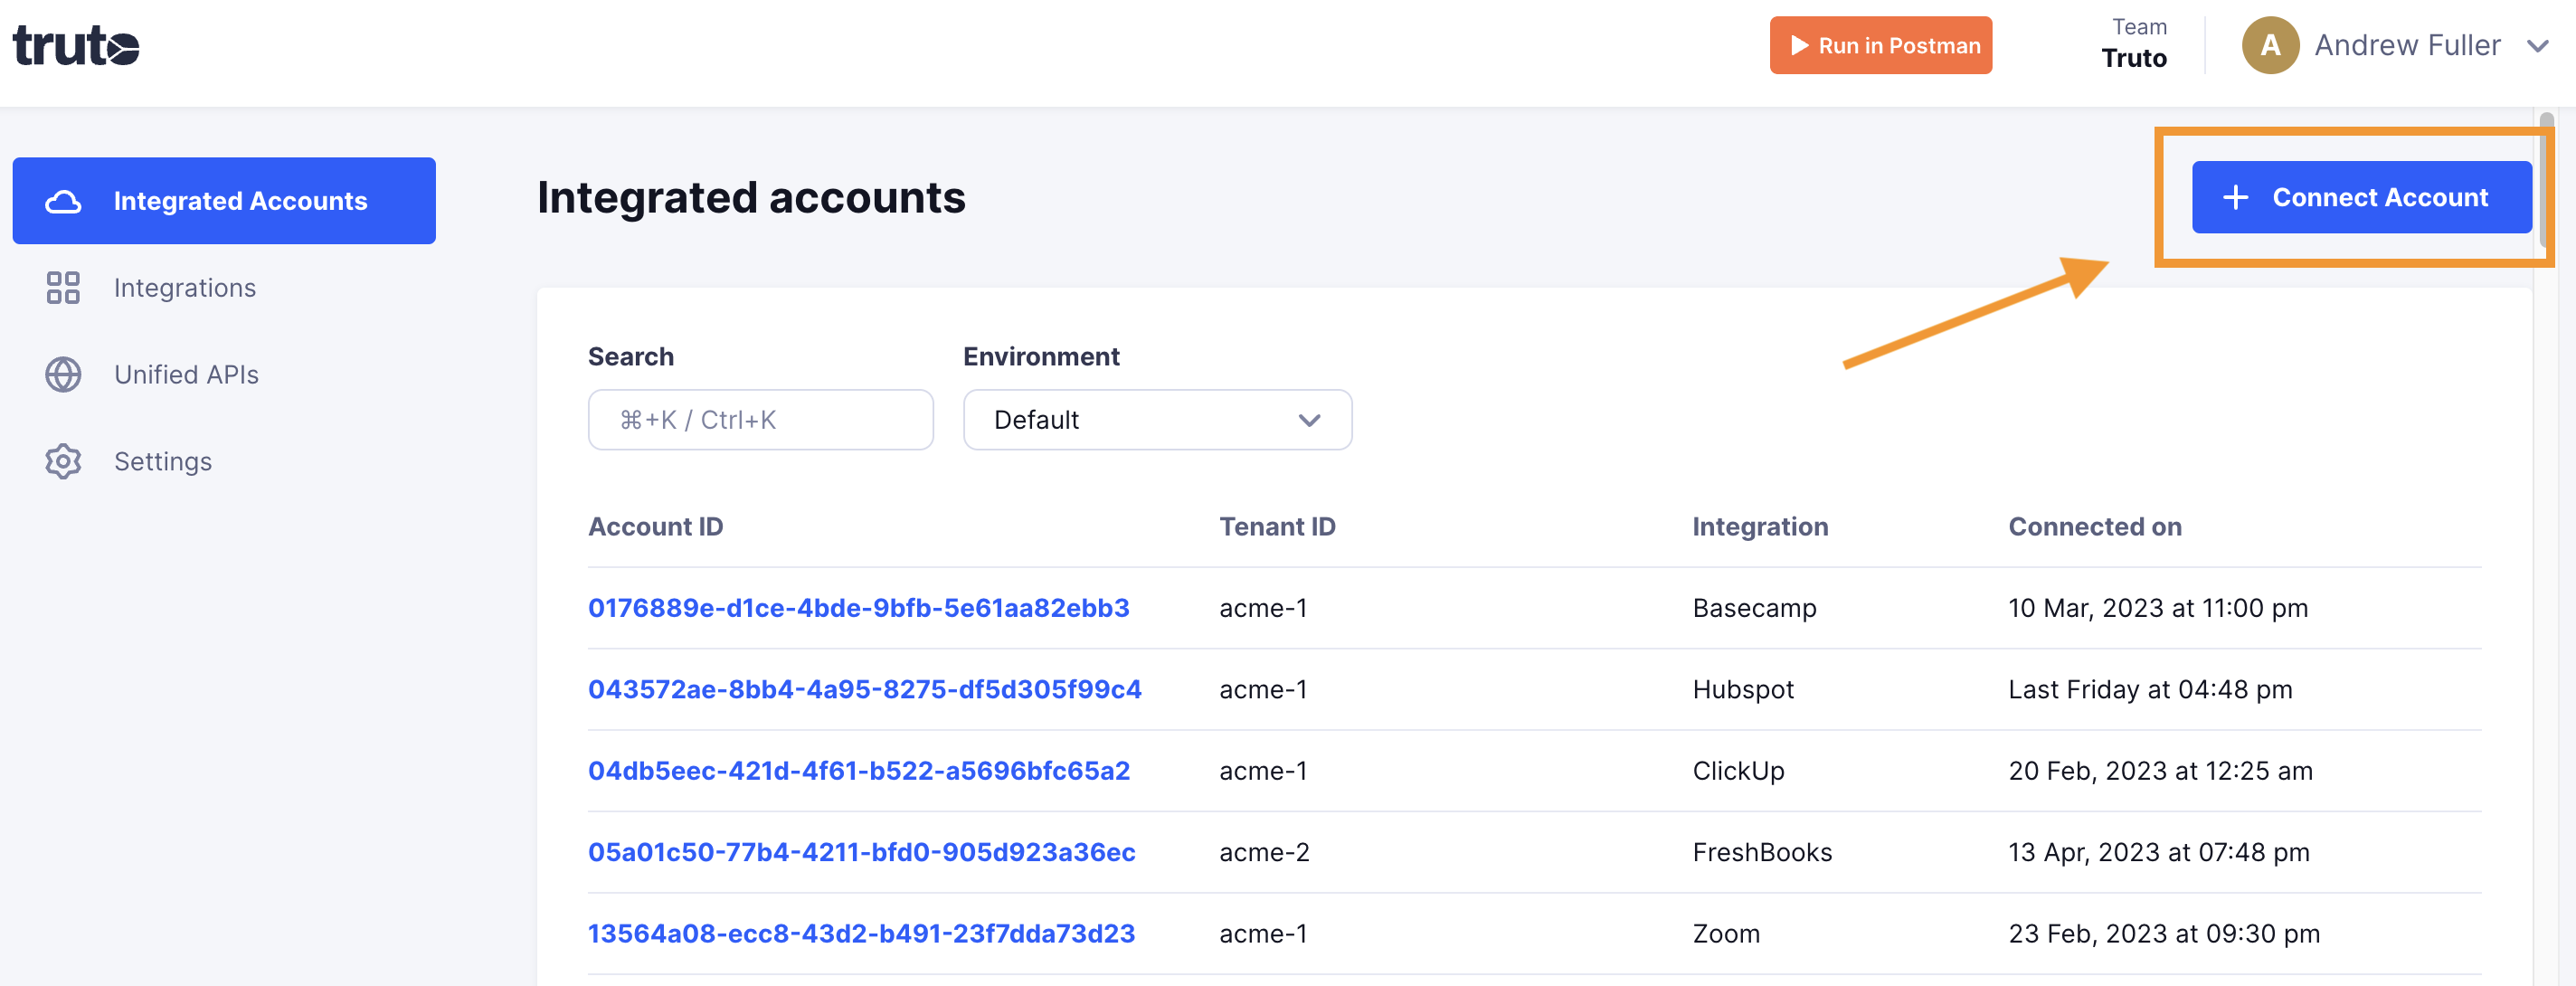
- Type in a value for the Tenant ID. This can be an ID of your choosing. And then click on
Get connection link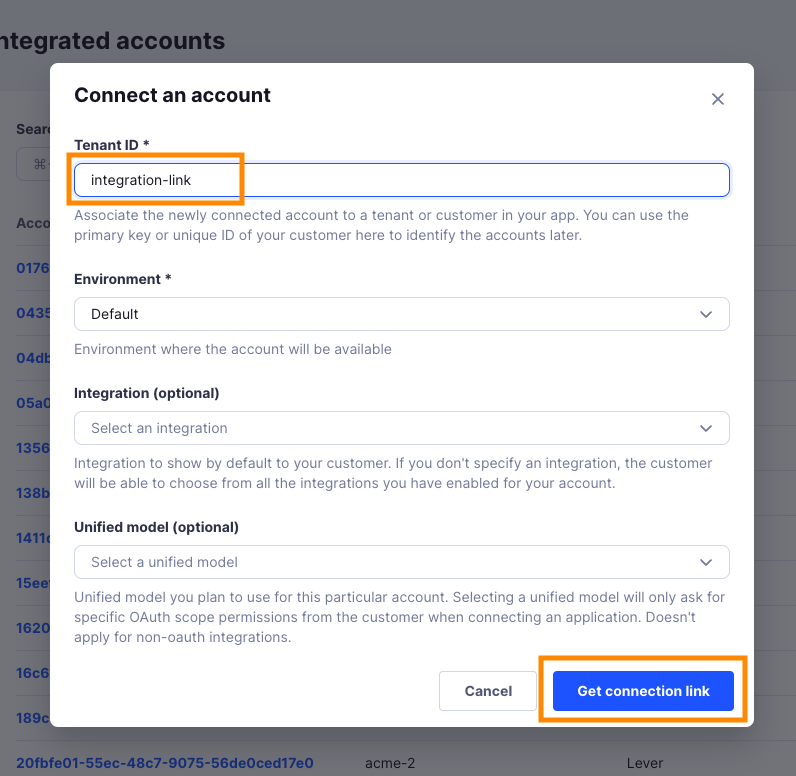
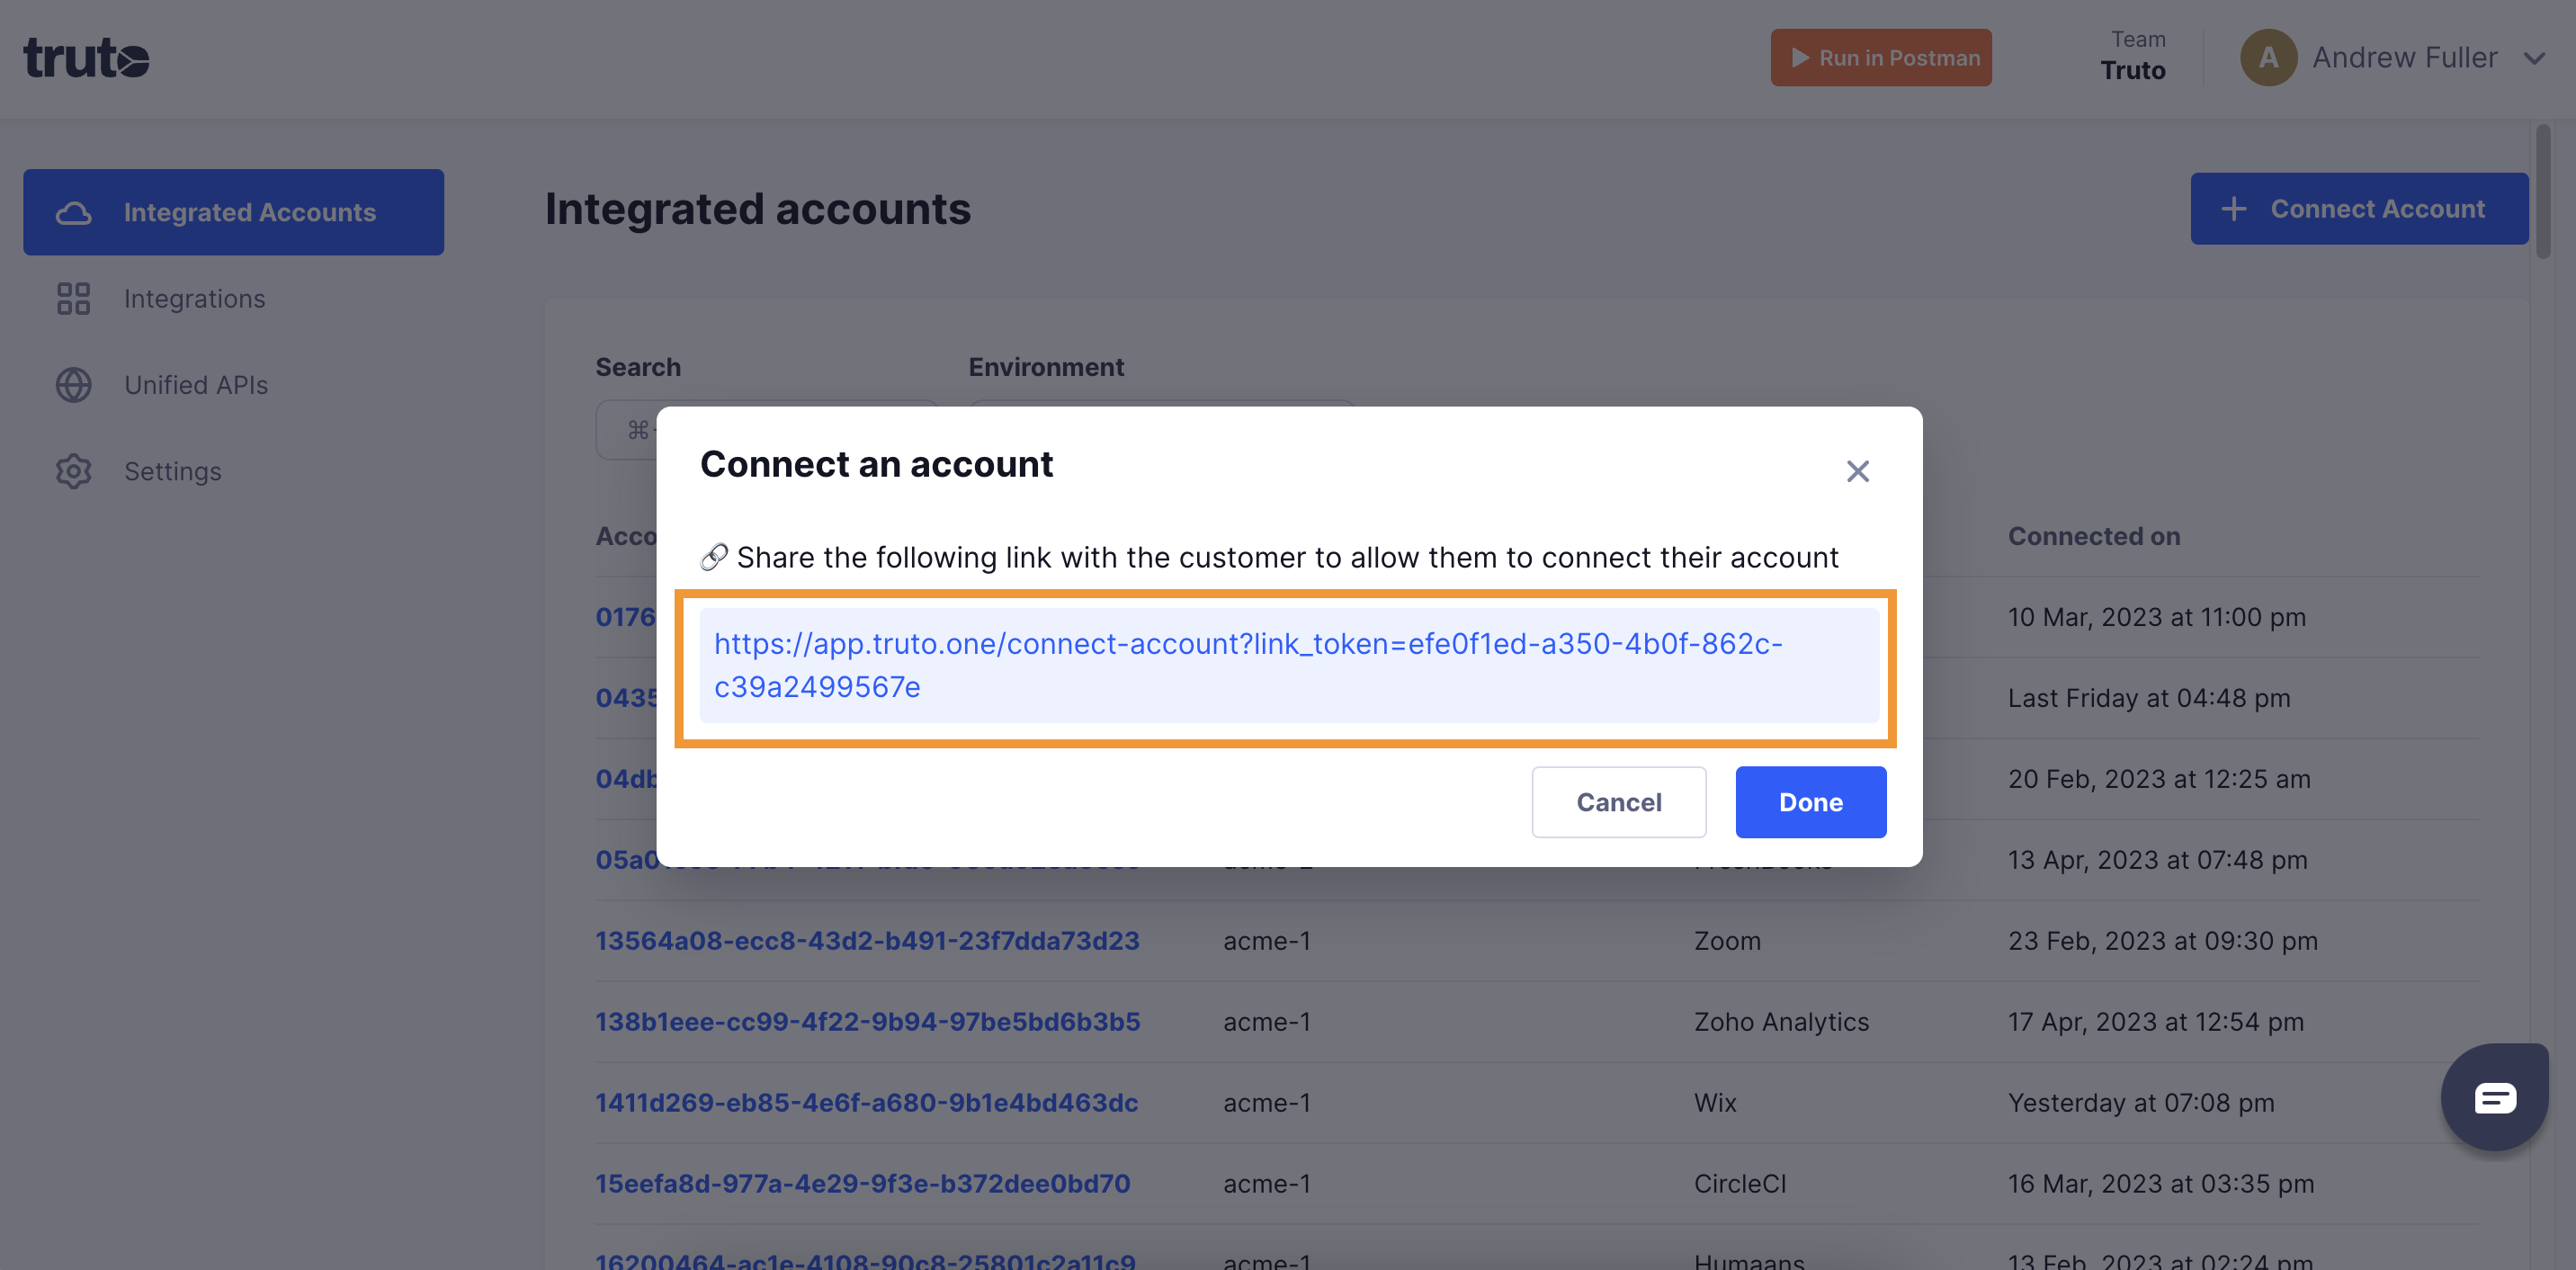
- A new link will be generated. Clicking on the link will open a new tab with the list of integrations. You can share this link with your customers too and they will be able to connect their Sentry account.
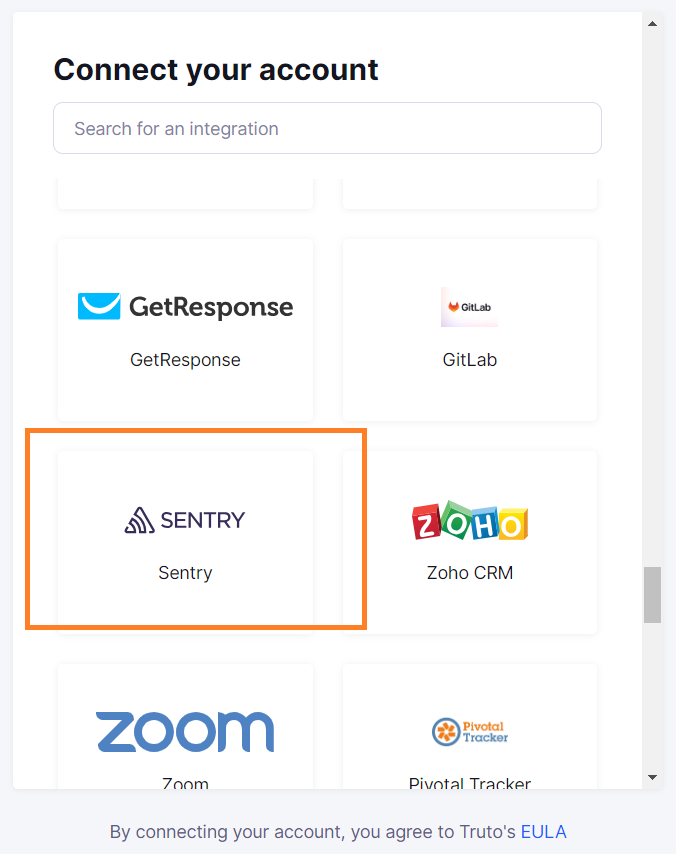
- Select Sentry
Finding your Token and Organization Slug
You'll now be prompted to add the Token and Organization Slug.
Organization Slug
- To find the Organization Slug, Sign in to your Sentry account.
- Click on the
Settingsbutton at the left Navigation Panel.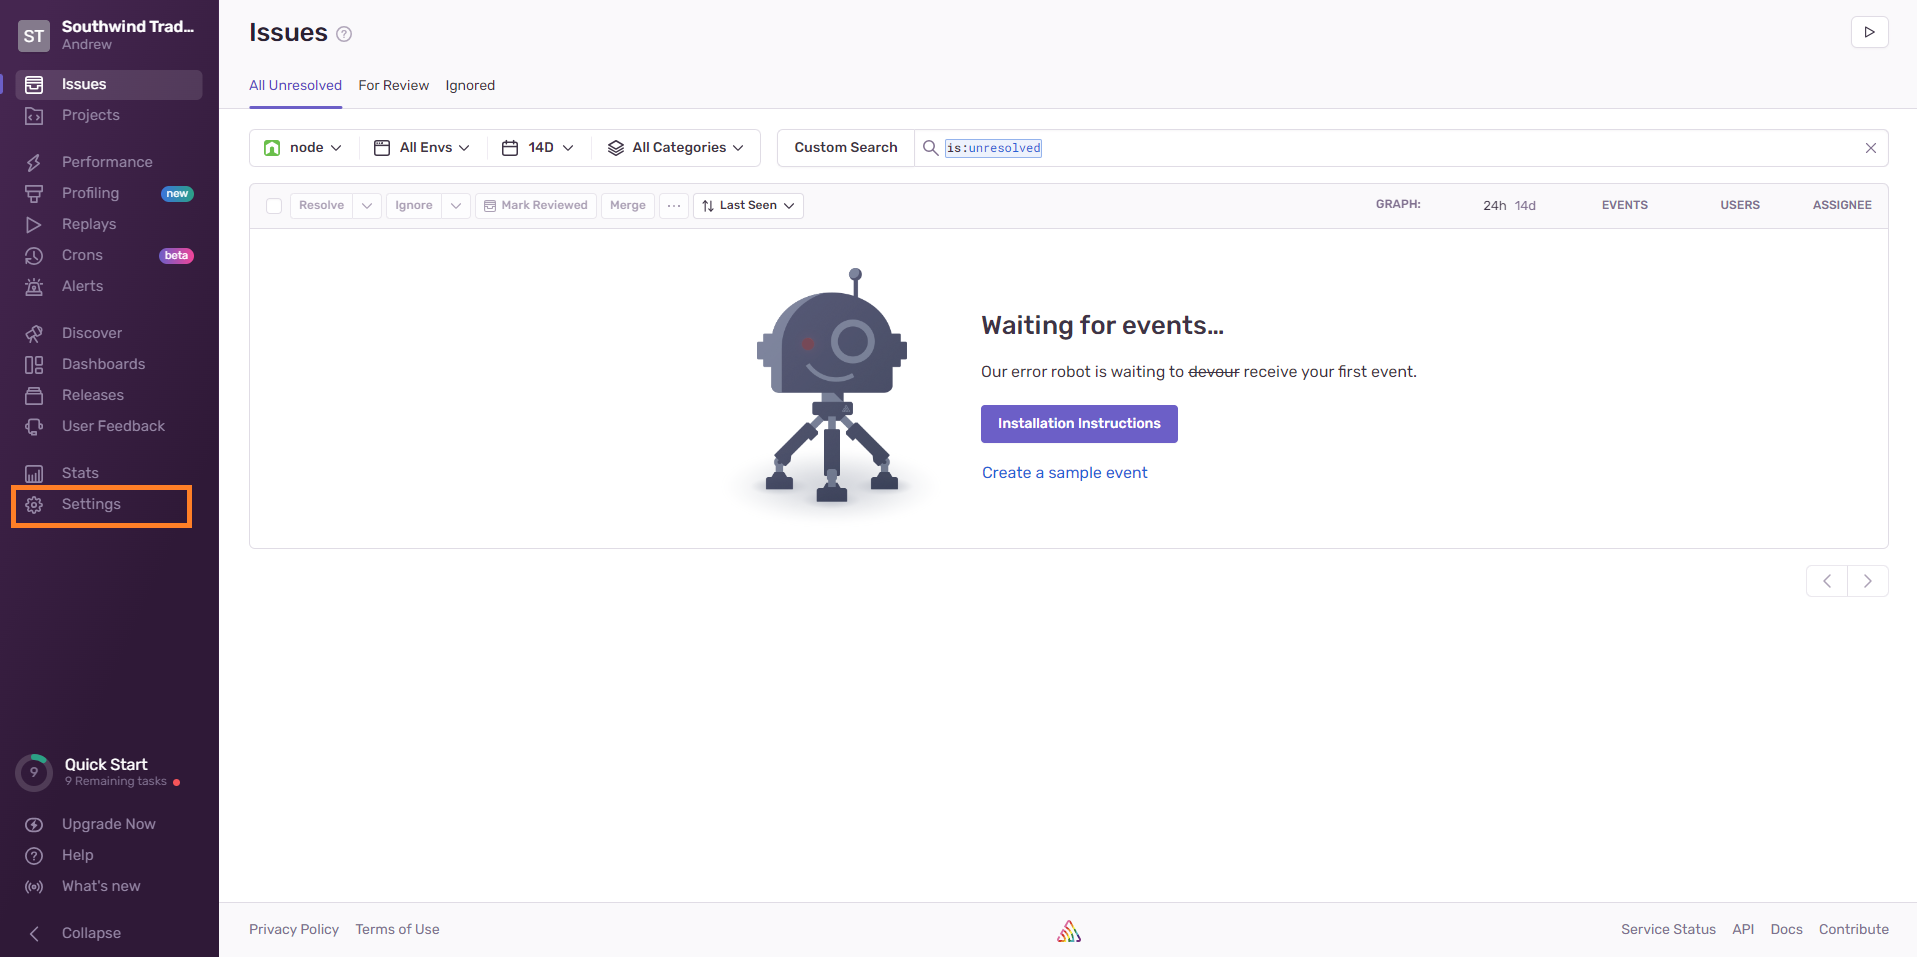
- Under
General Settings, you will get your Organization Slug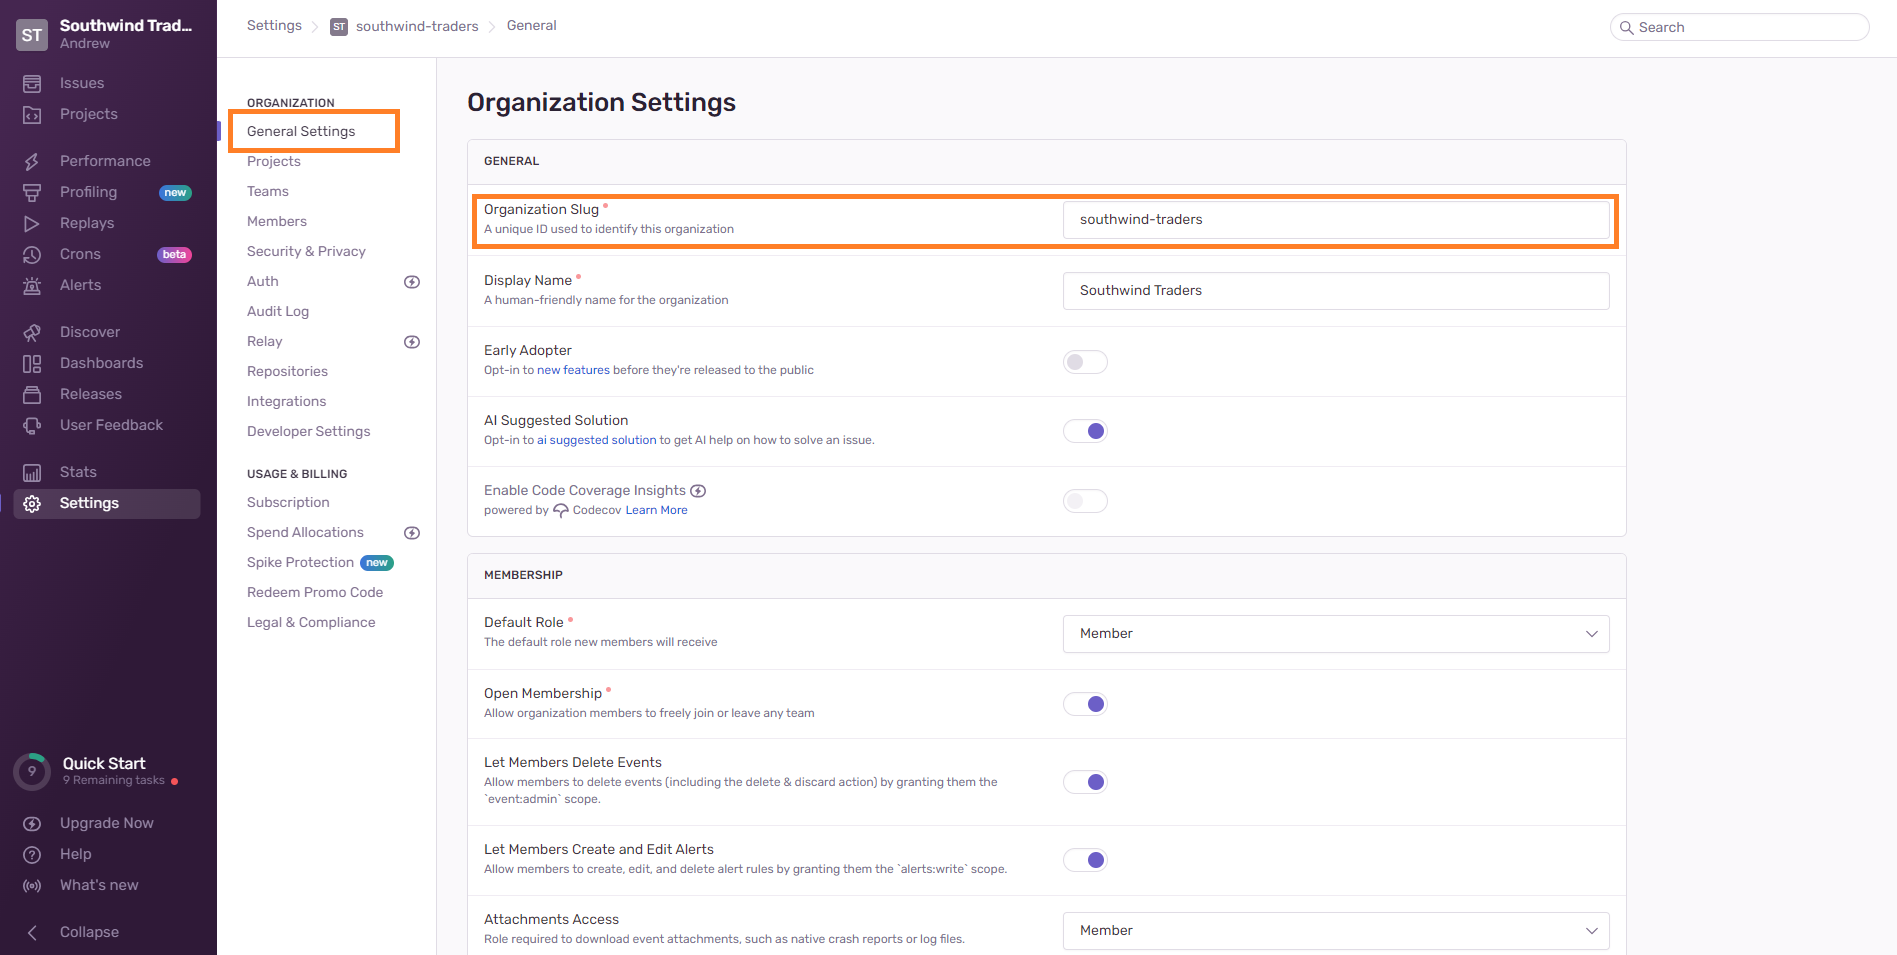
Token
- To find the Token, Sign in to your Sentry account.
- Click on the
Settingsbutton at the left Navigation Panel.
- Under
Developer Settings, click onCreate New Integration.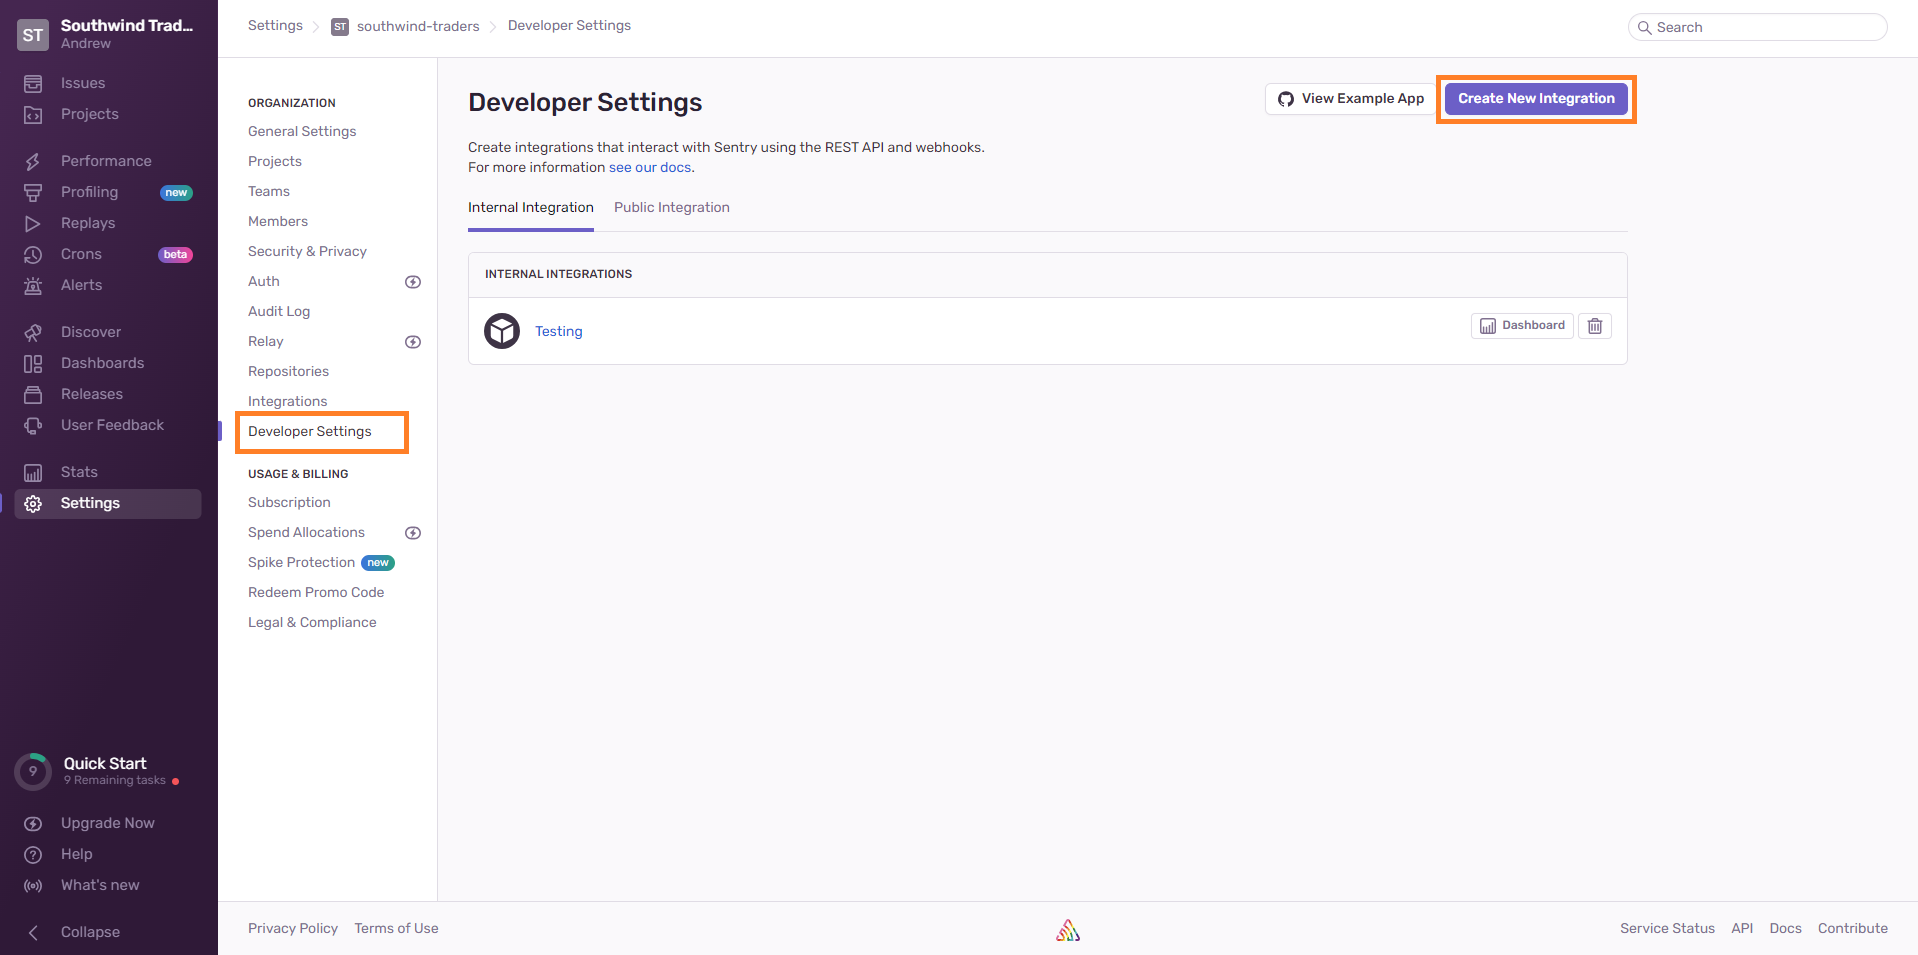
- Select
Internal Integrationand click onNext.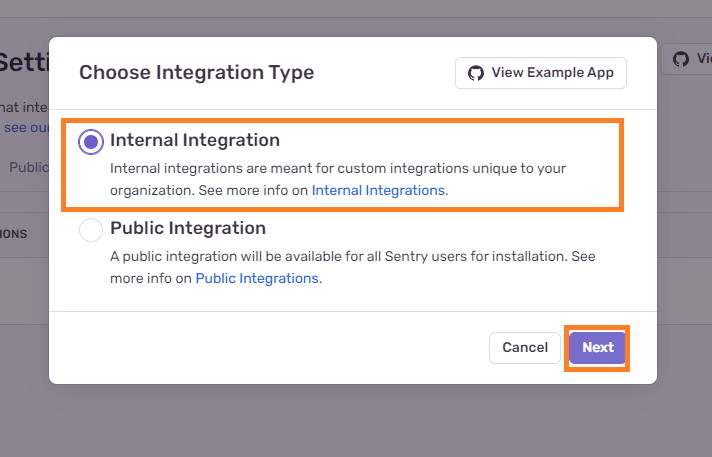
- Enter
Nameand give Permissions as shown below.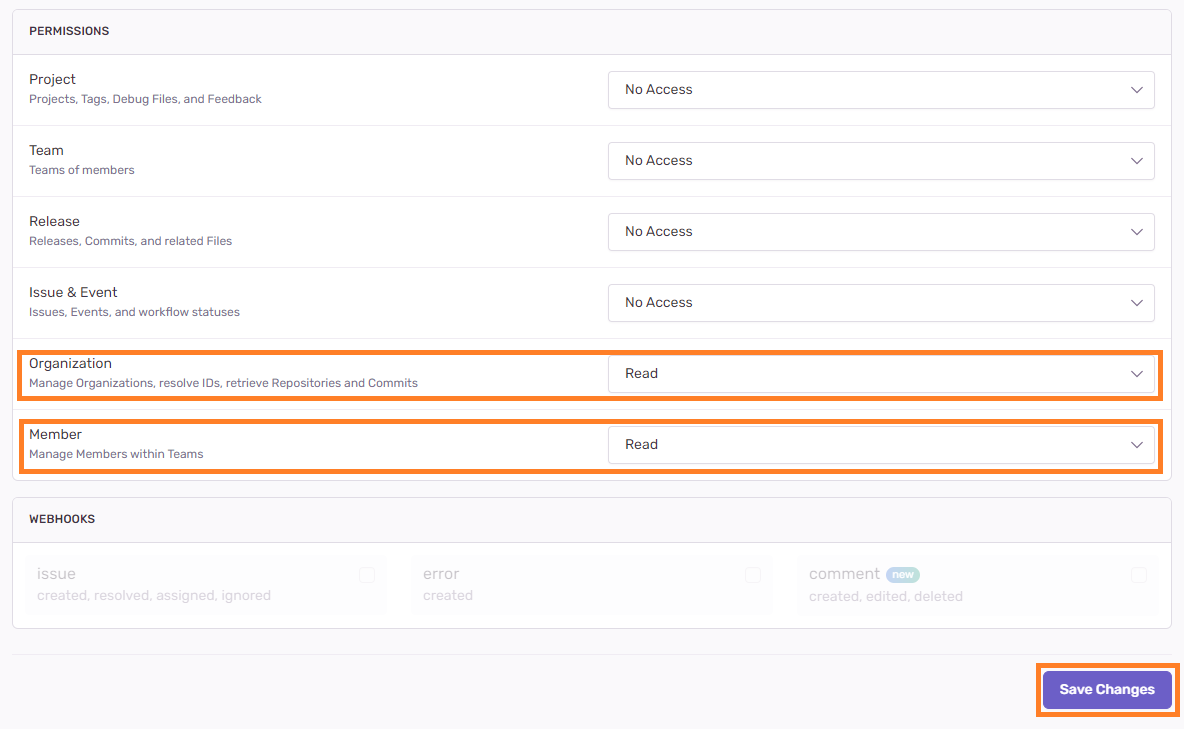
- Click on
Save Changesafter selecting required permissions.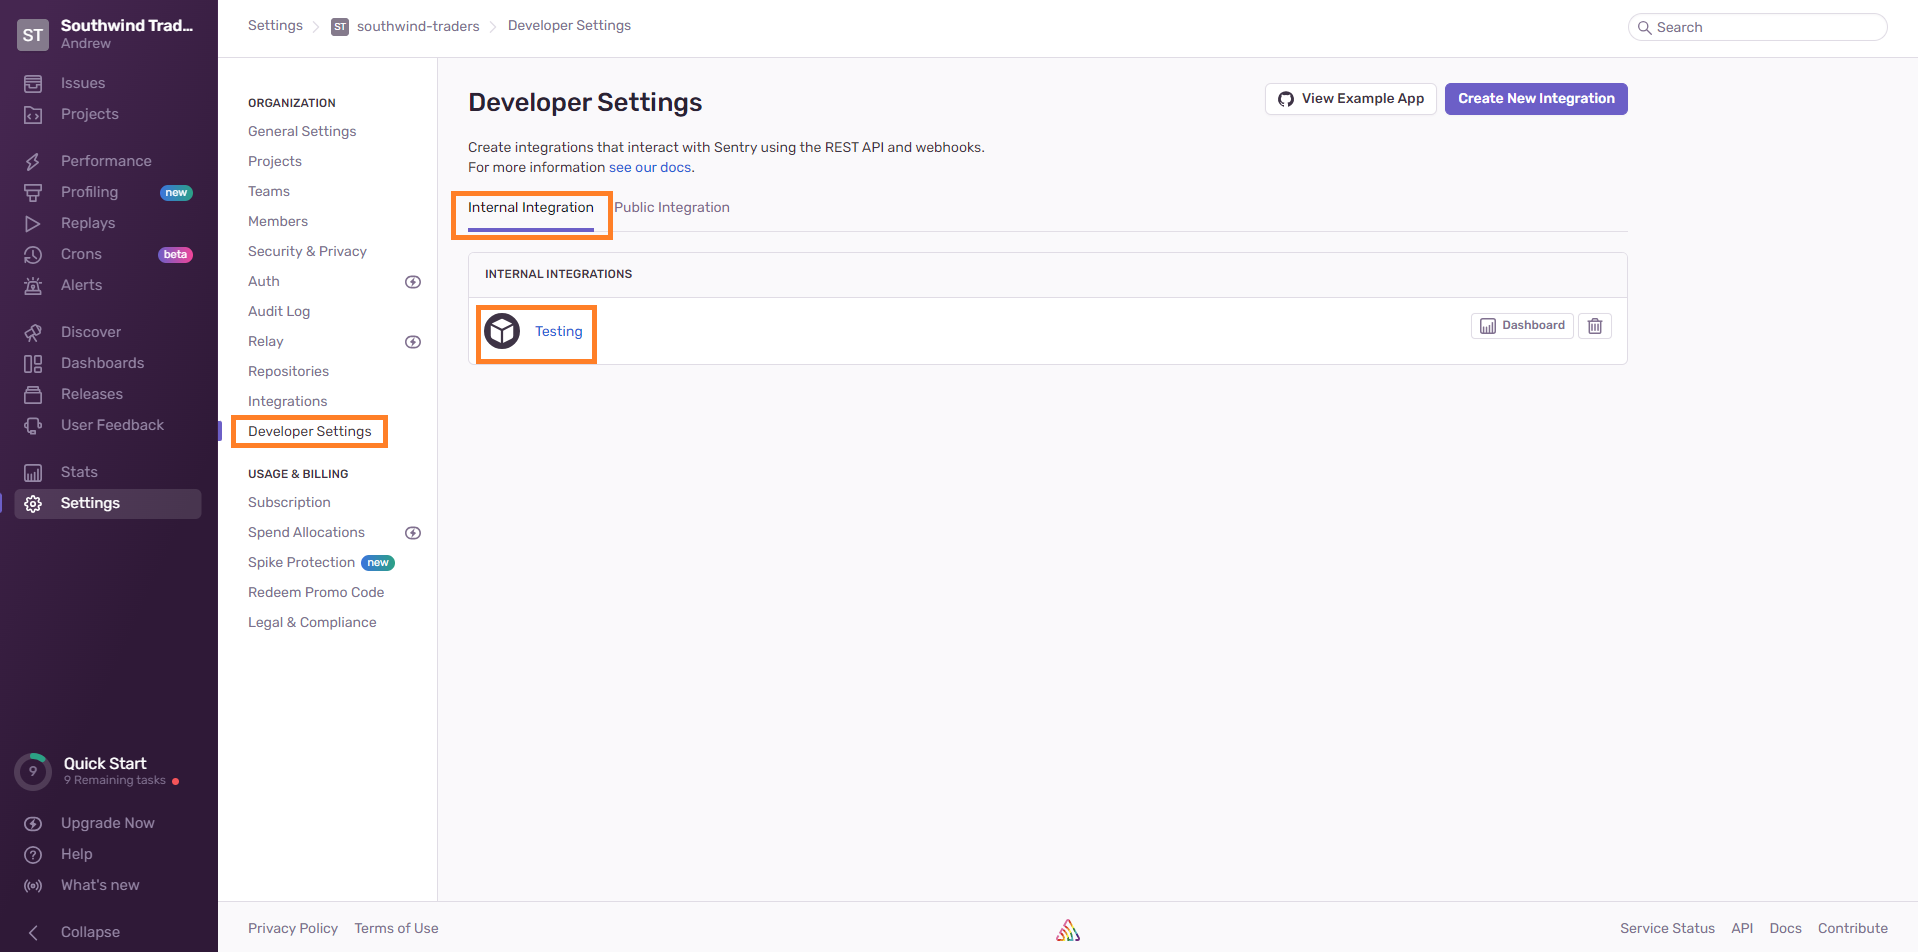
- Now, in
Developer SettingsinInternal Integrationyou wil find your Integration. Click on it and inside it you will find yourTokenat the bottom.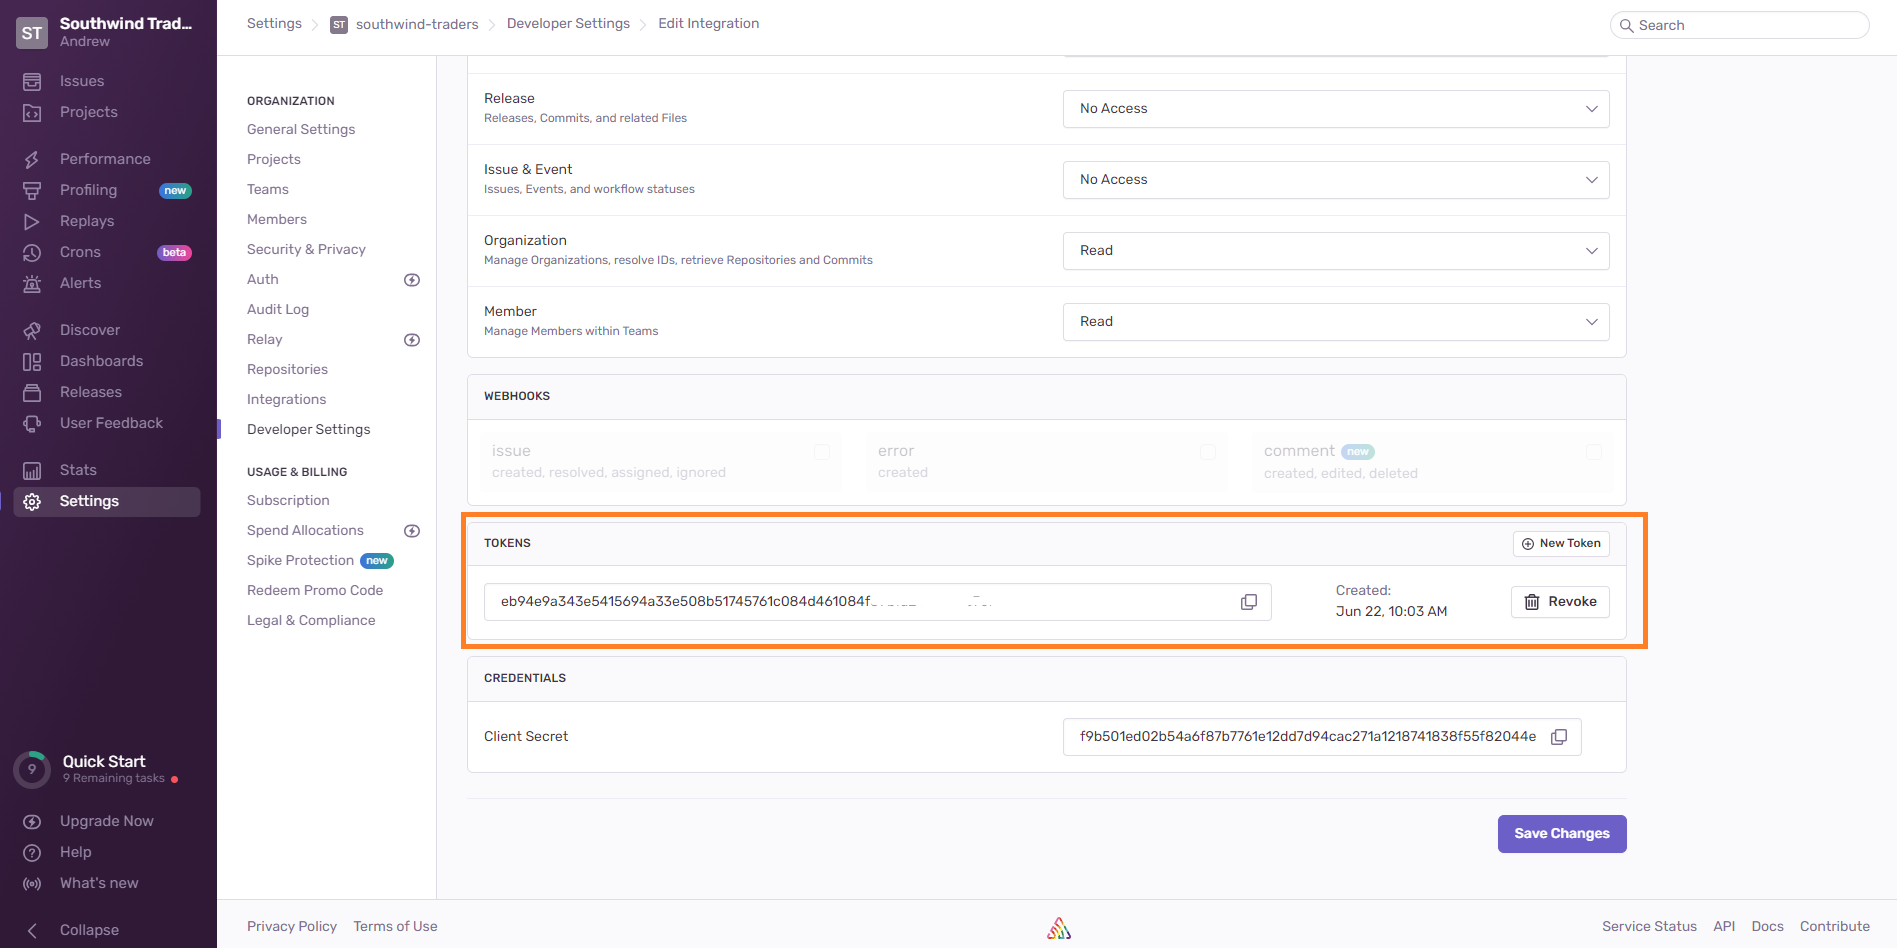
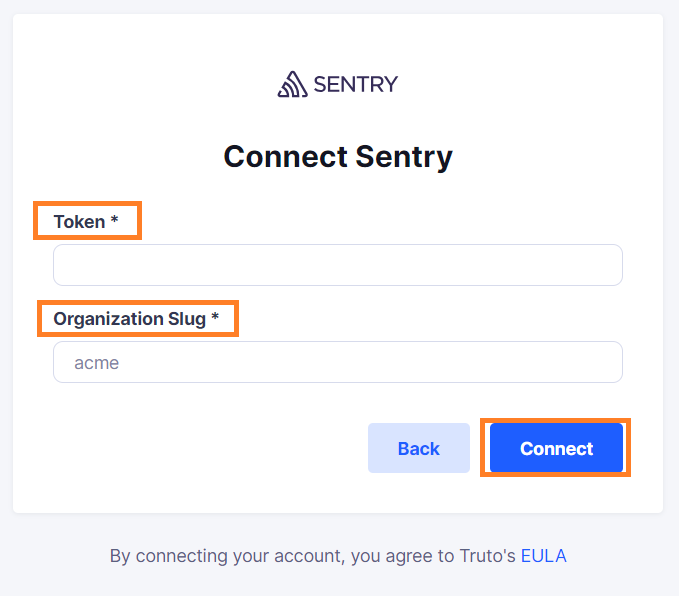
Enter your
TokenandOrganization Slug. Click onConnect.Voila! You should now see a connection successful message. You can now close this tab.
Go to your Truto account and you should see the integration under Integrated Accounts. Click on the Account ID to change or edit the integration to suit your needs.

Uninstalling the Sentry integration
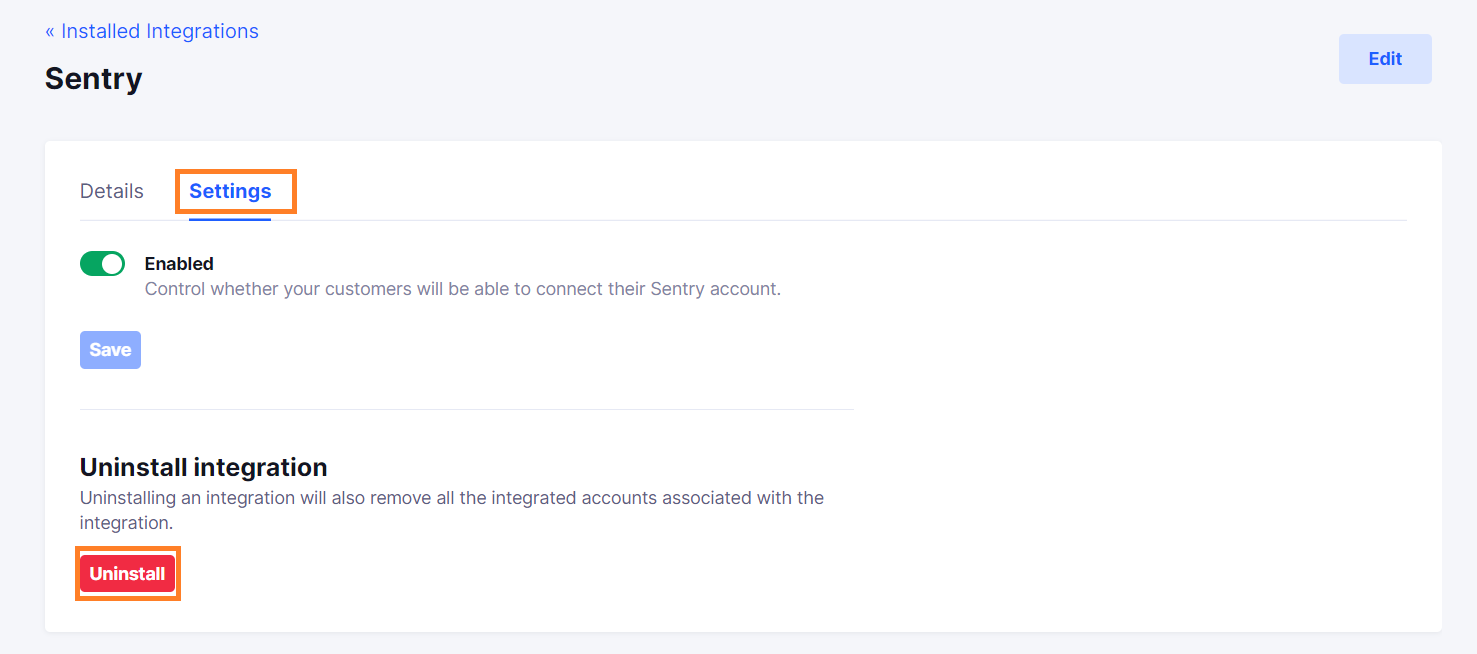
To uninstall the Sentry integration from your Truto account, select the Sentry integration from the Integrations tab.
Click on the Settings tab in Sentry Integration page
And then click on Uninstall. Uninstalling the integration will also remove all the Sentry integrated accounts from your Truto account.
