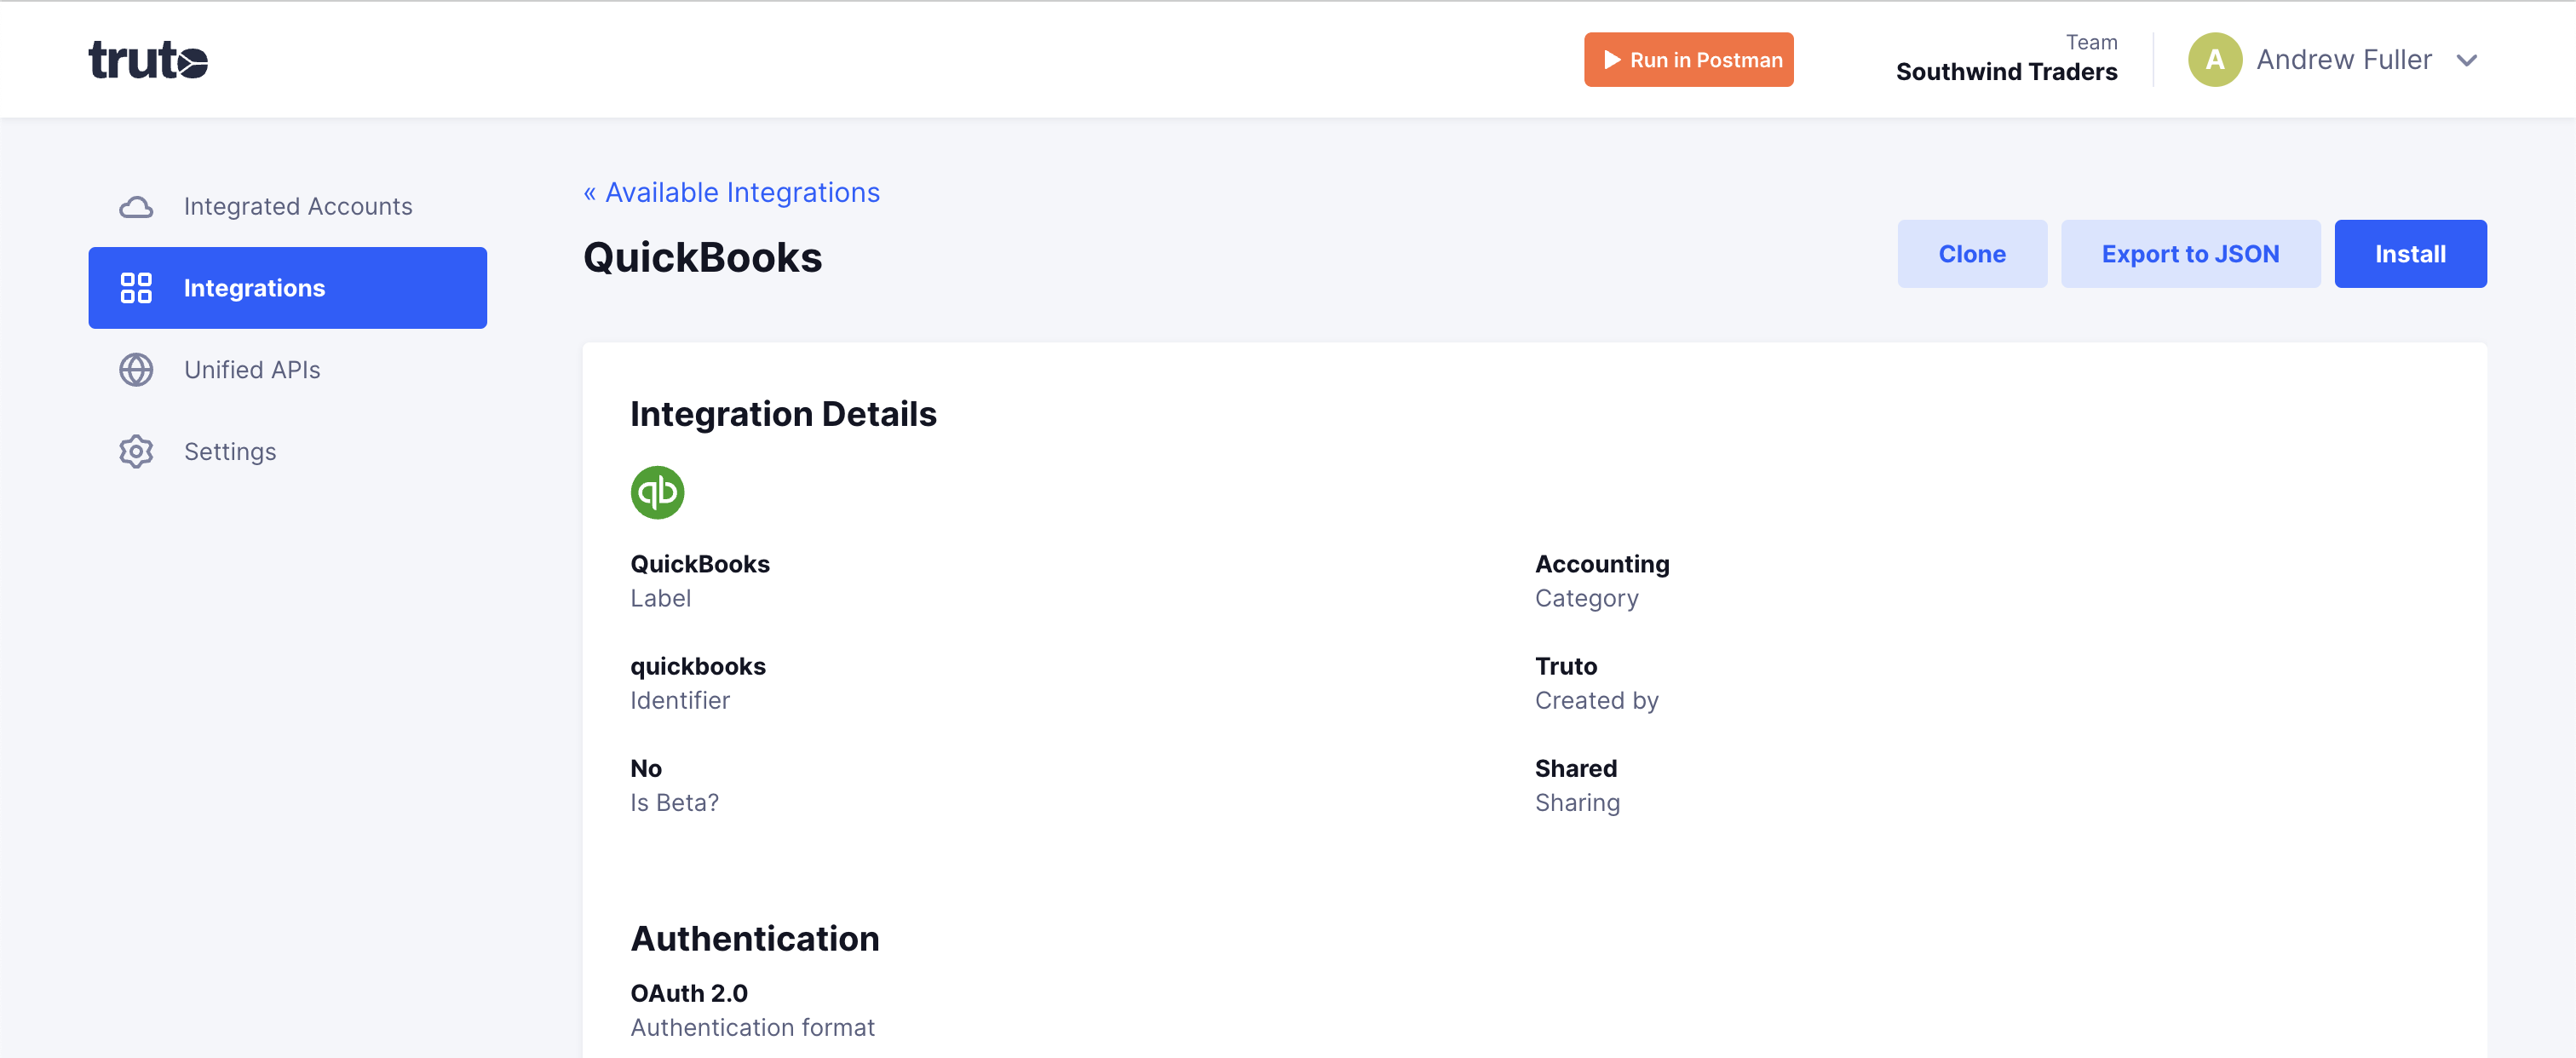
QuickBooks
This article will take you through the steps to set up a QuickBooks integration and connect your first Quickbooks account.
Truto provides a ready-to-use OAuth application for QuickBooks, but in case you want to use your own OAuth app, please follow the steps below or feel free to skip to the Connecting A QuickBooks Account section.
Setup your own QuickBooks OAuth Integration in Truto
You can skip this step if you want to use Truto's QuickBooks OAuth application
- Create an OAuth application in QuickBooks and note down the client_id and client_secret for your OAuth application. The redirect URL you have to use is https://api.truto.one/connect/quickbooks/callback
- Open up the QuickBooks integration in Truto.
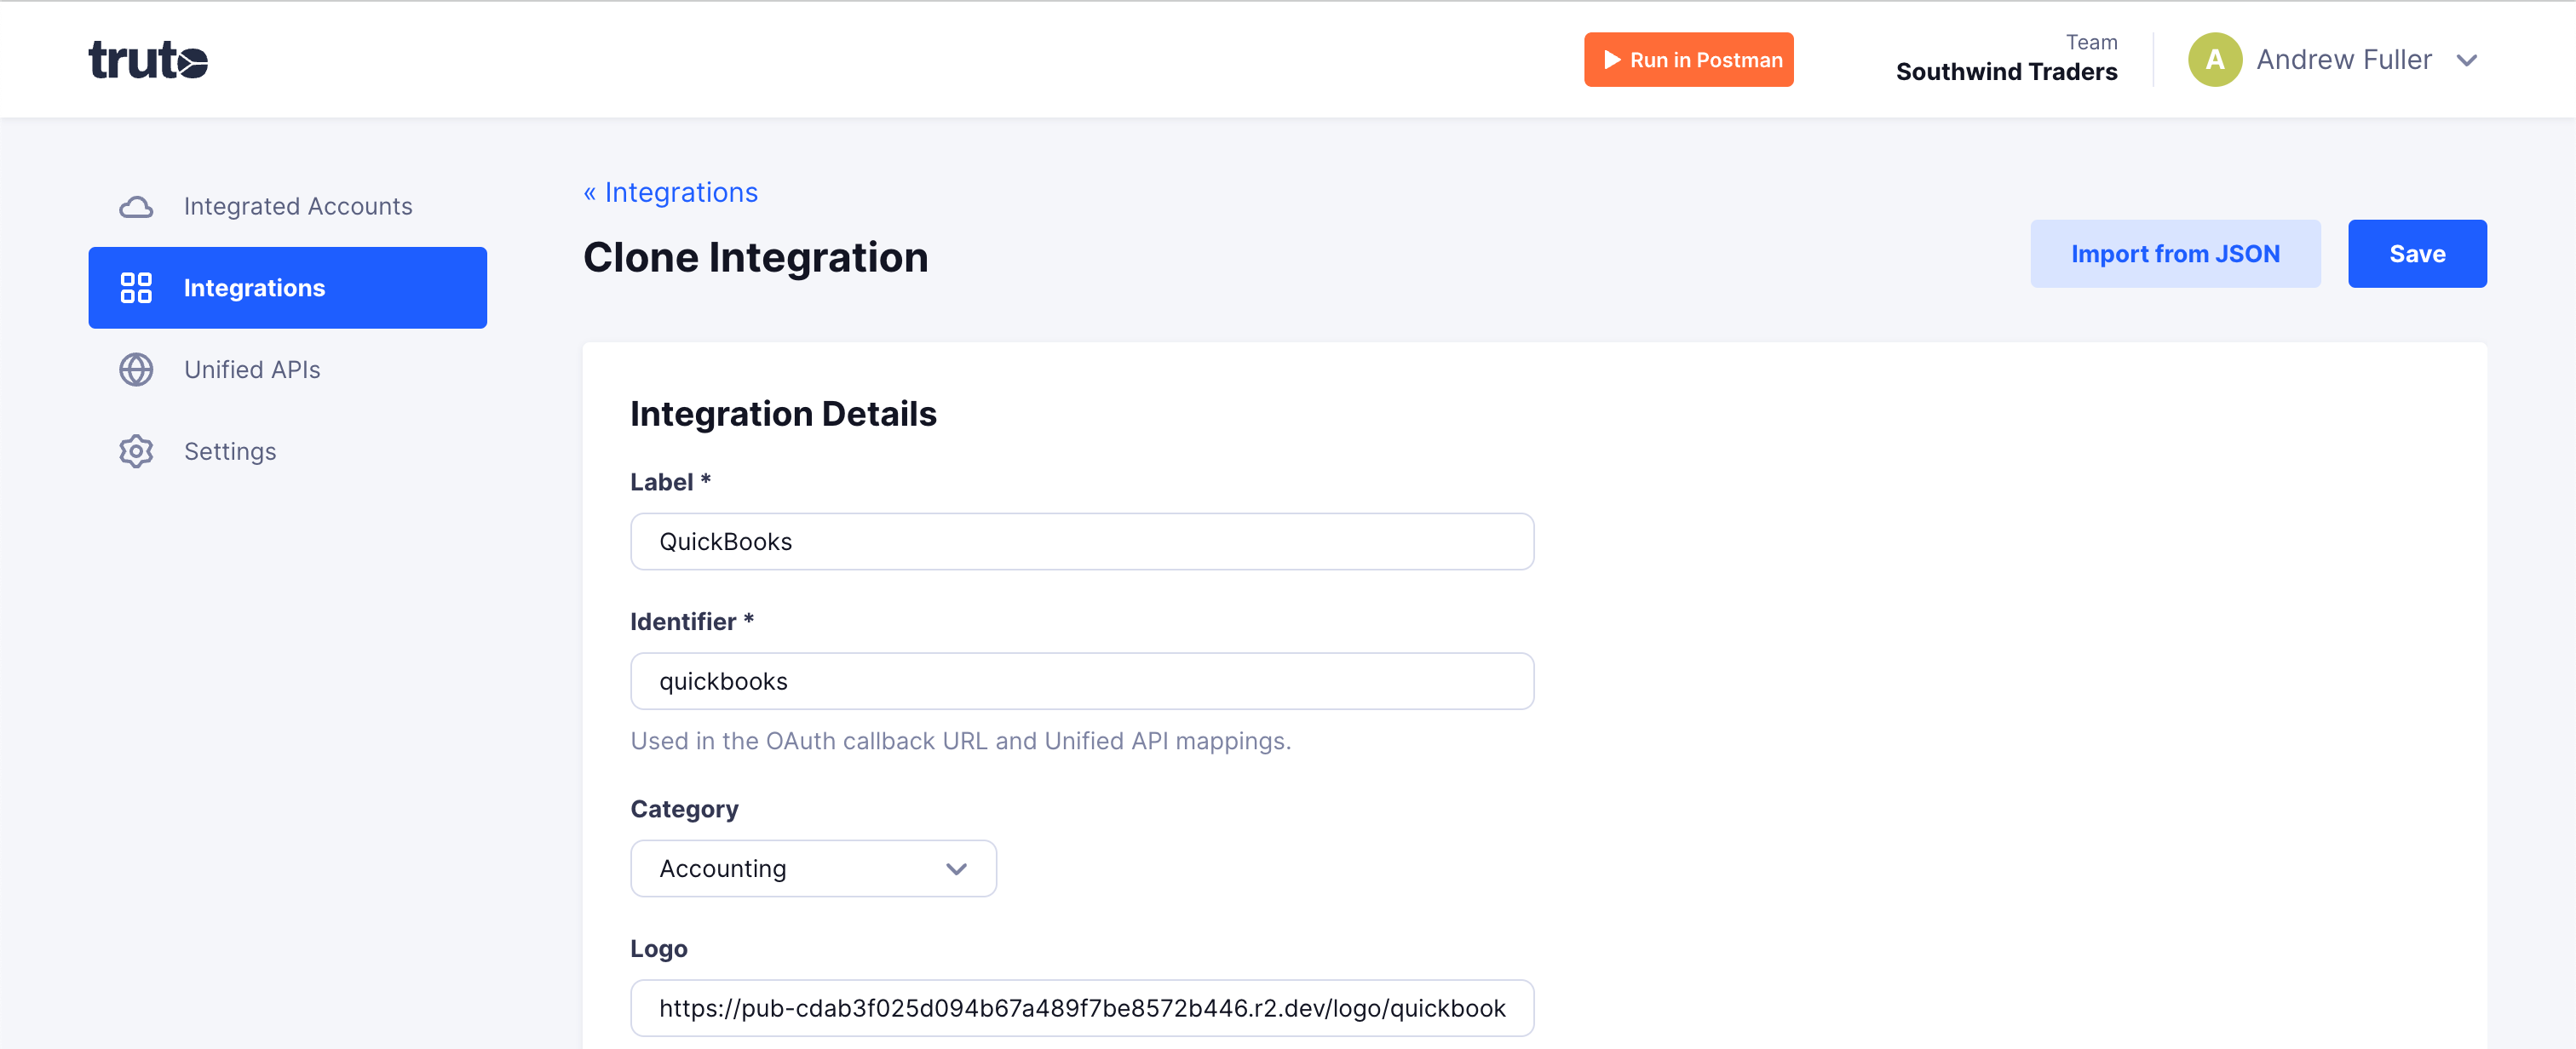
- Click on the Clone button in the integration details page.
- Scroll down to the Authentication section and key in the Client ID and Client Secret into the form fields.quickbooks-details-2

- Scroll to the top of the page and click Save and then Install to install the integration.
Connecting a QuickBooks account
-
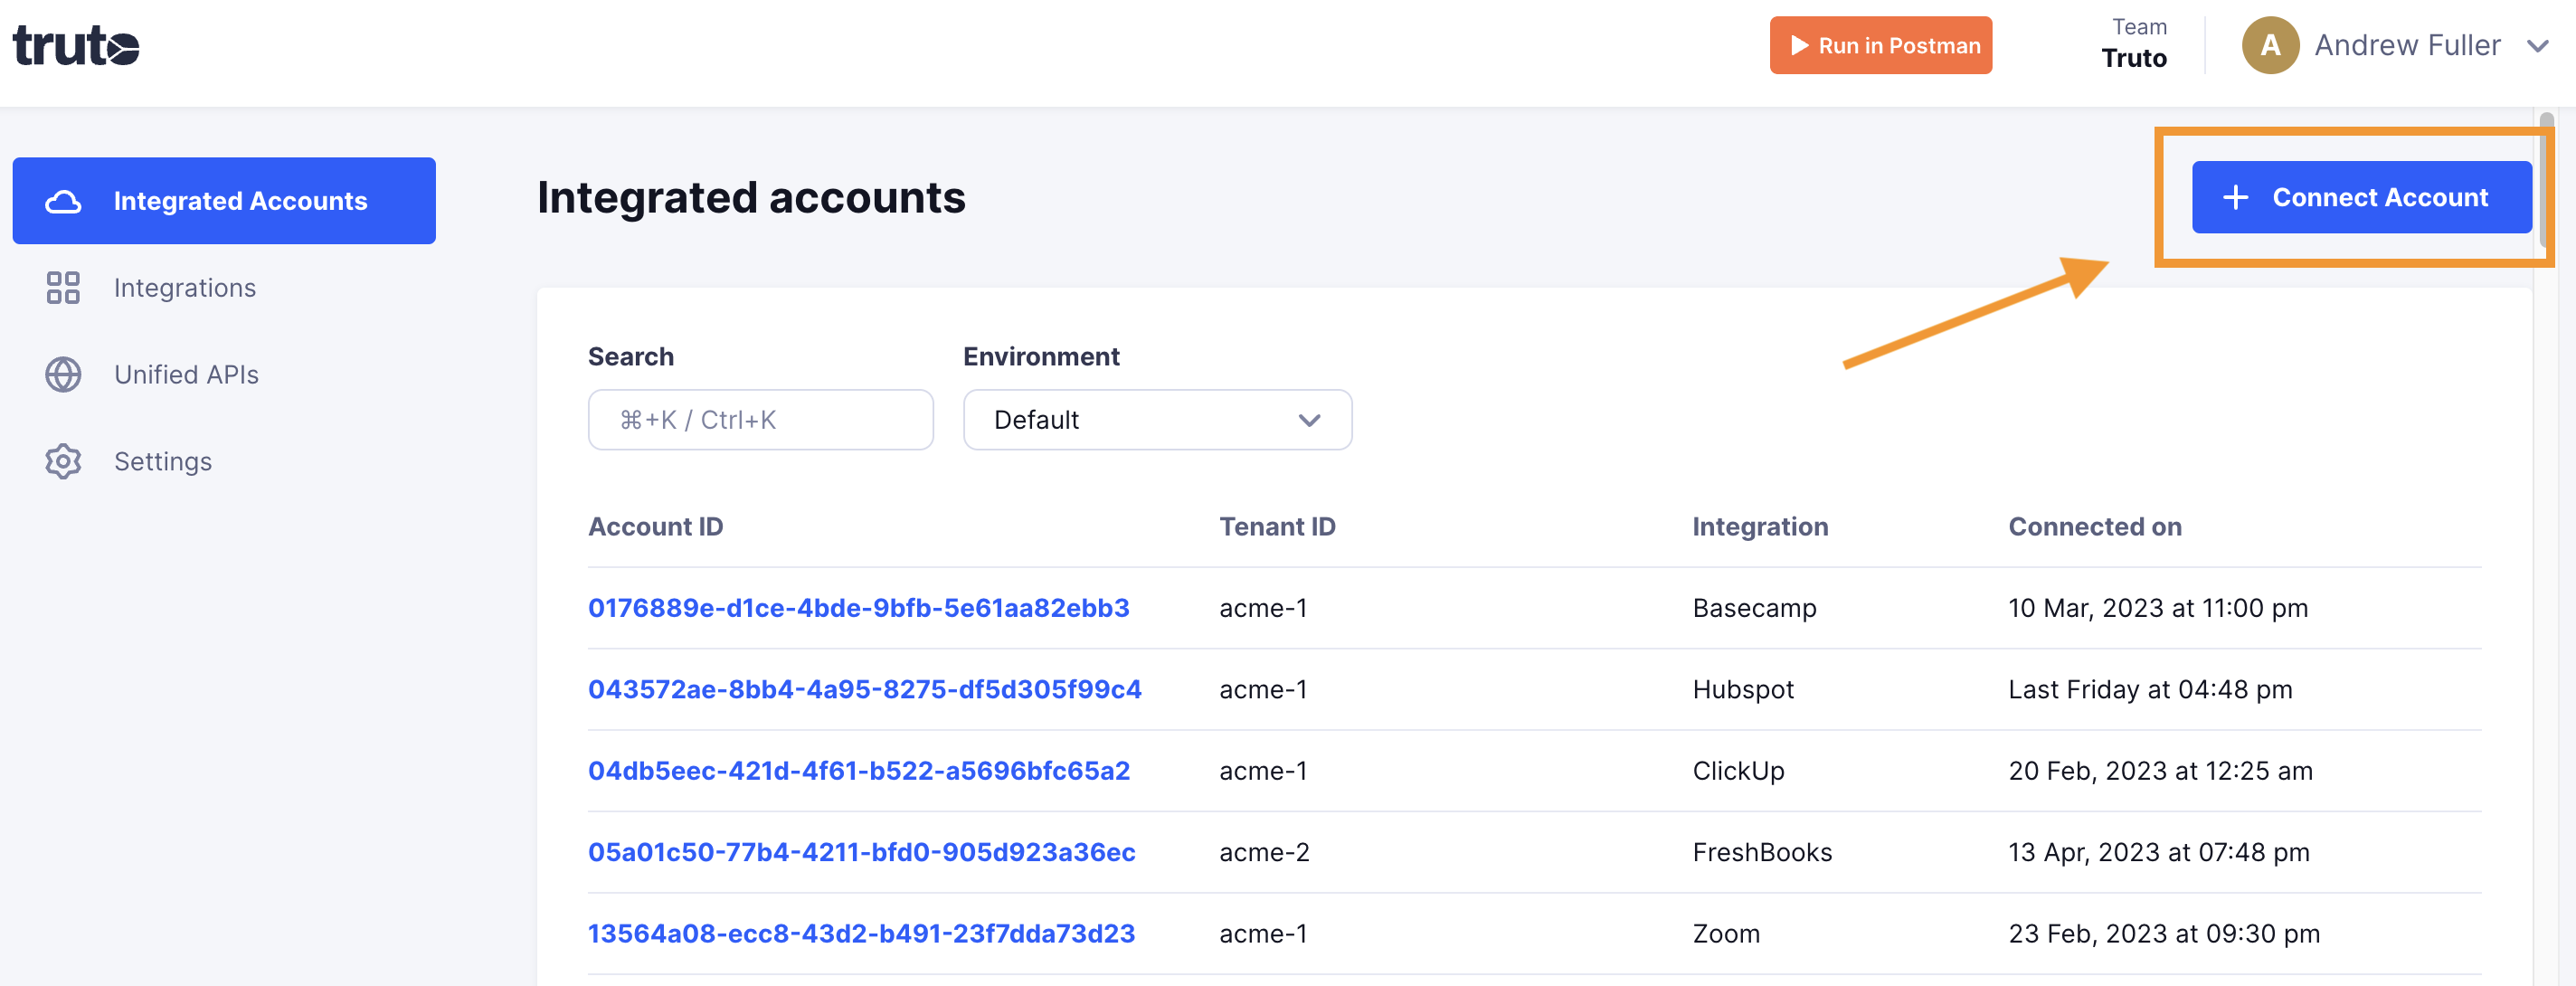
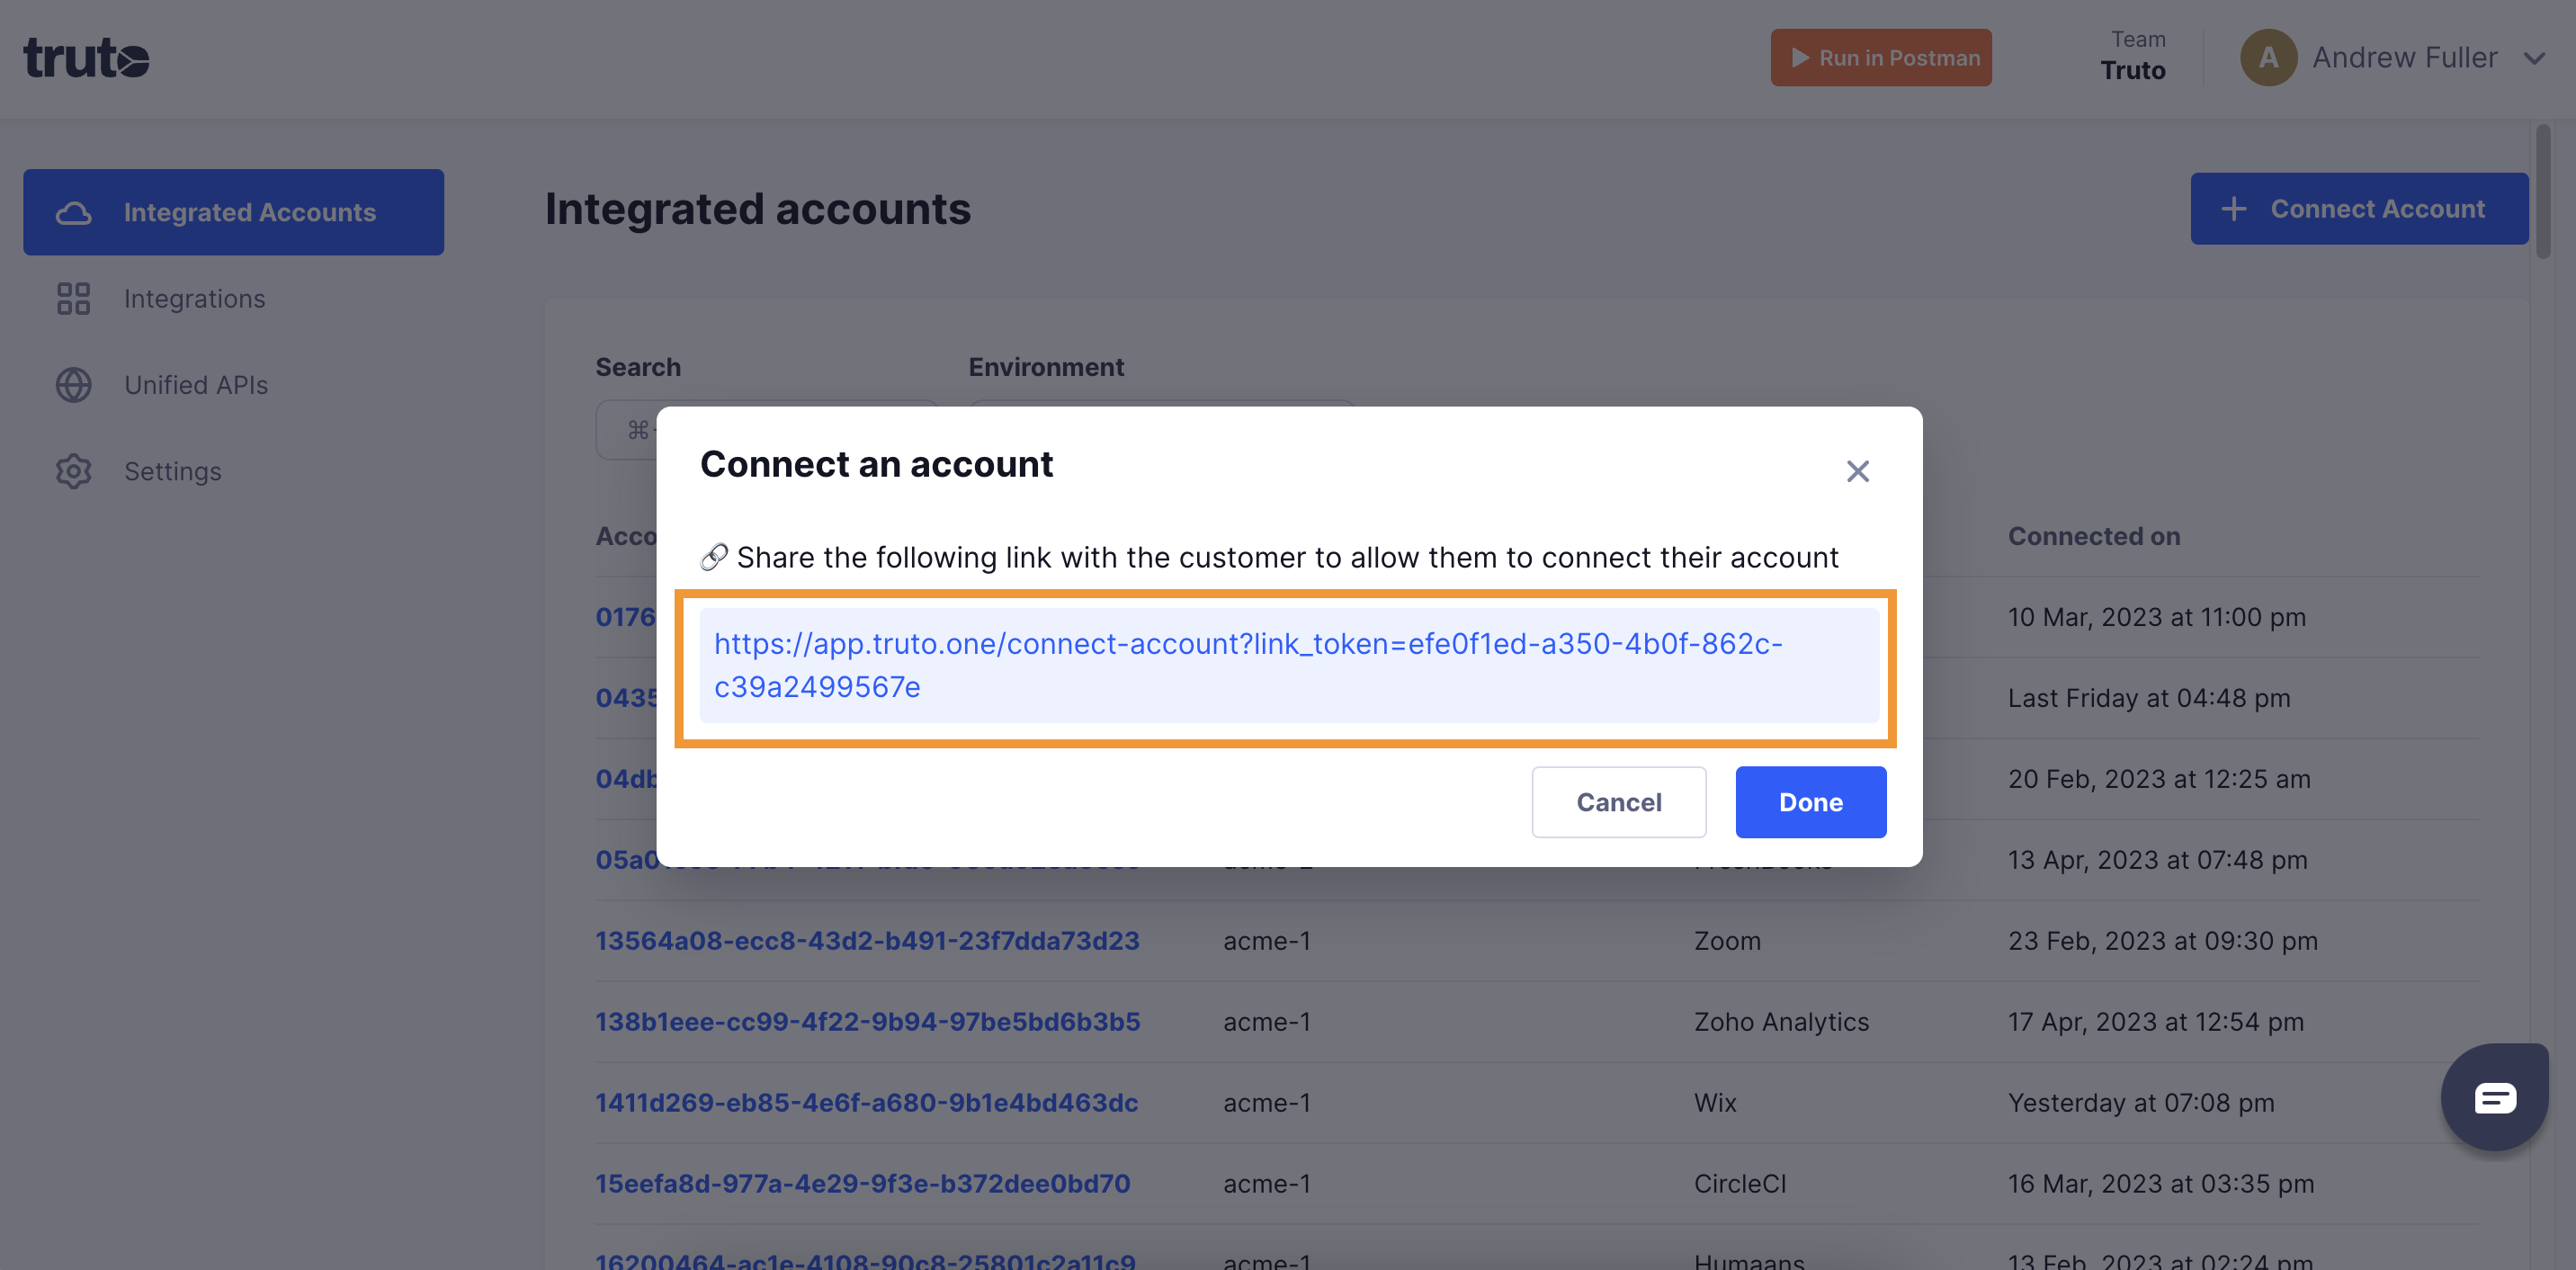
Click on Connect Account
-
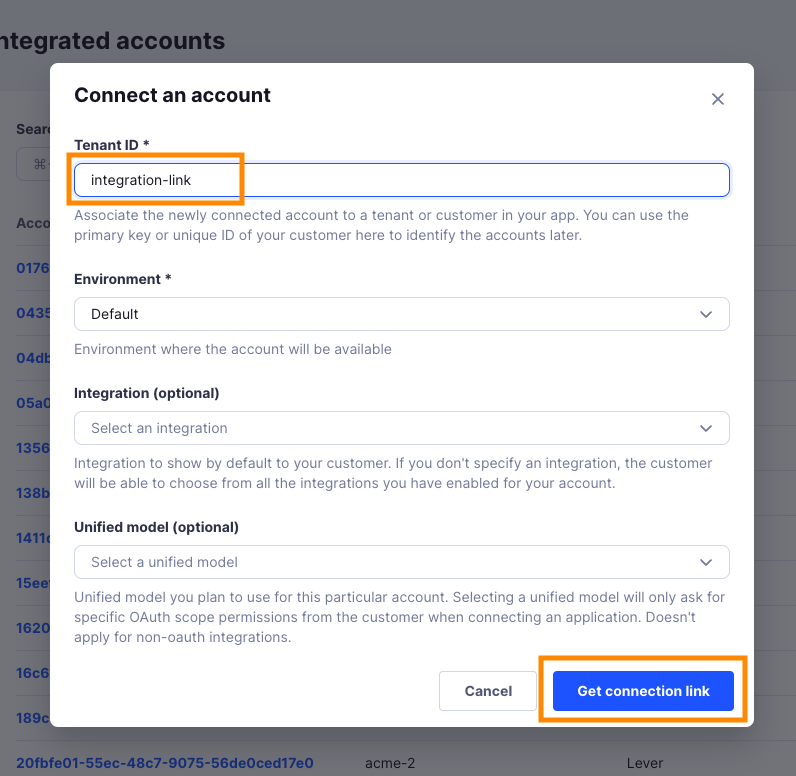
Type in a value for the Tenant ID. This can be any ID of your choosing. And then click on Get connection link
-
A new link will be generated. Clicking on the link will open a new tab with the list of integrations. You can share this link with your customers too, and they will be able to connect their QuickBooks account.
-
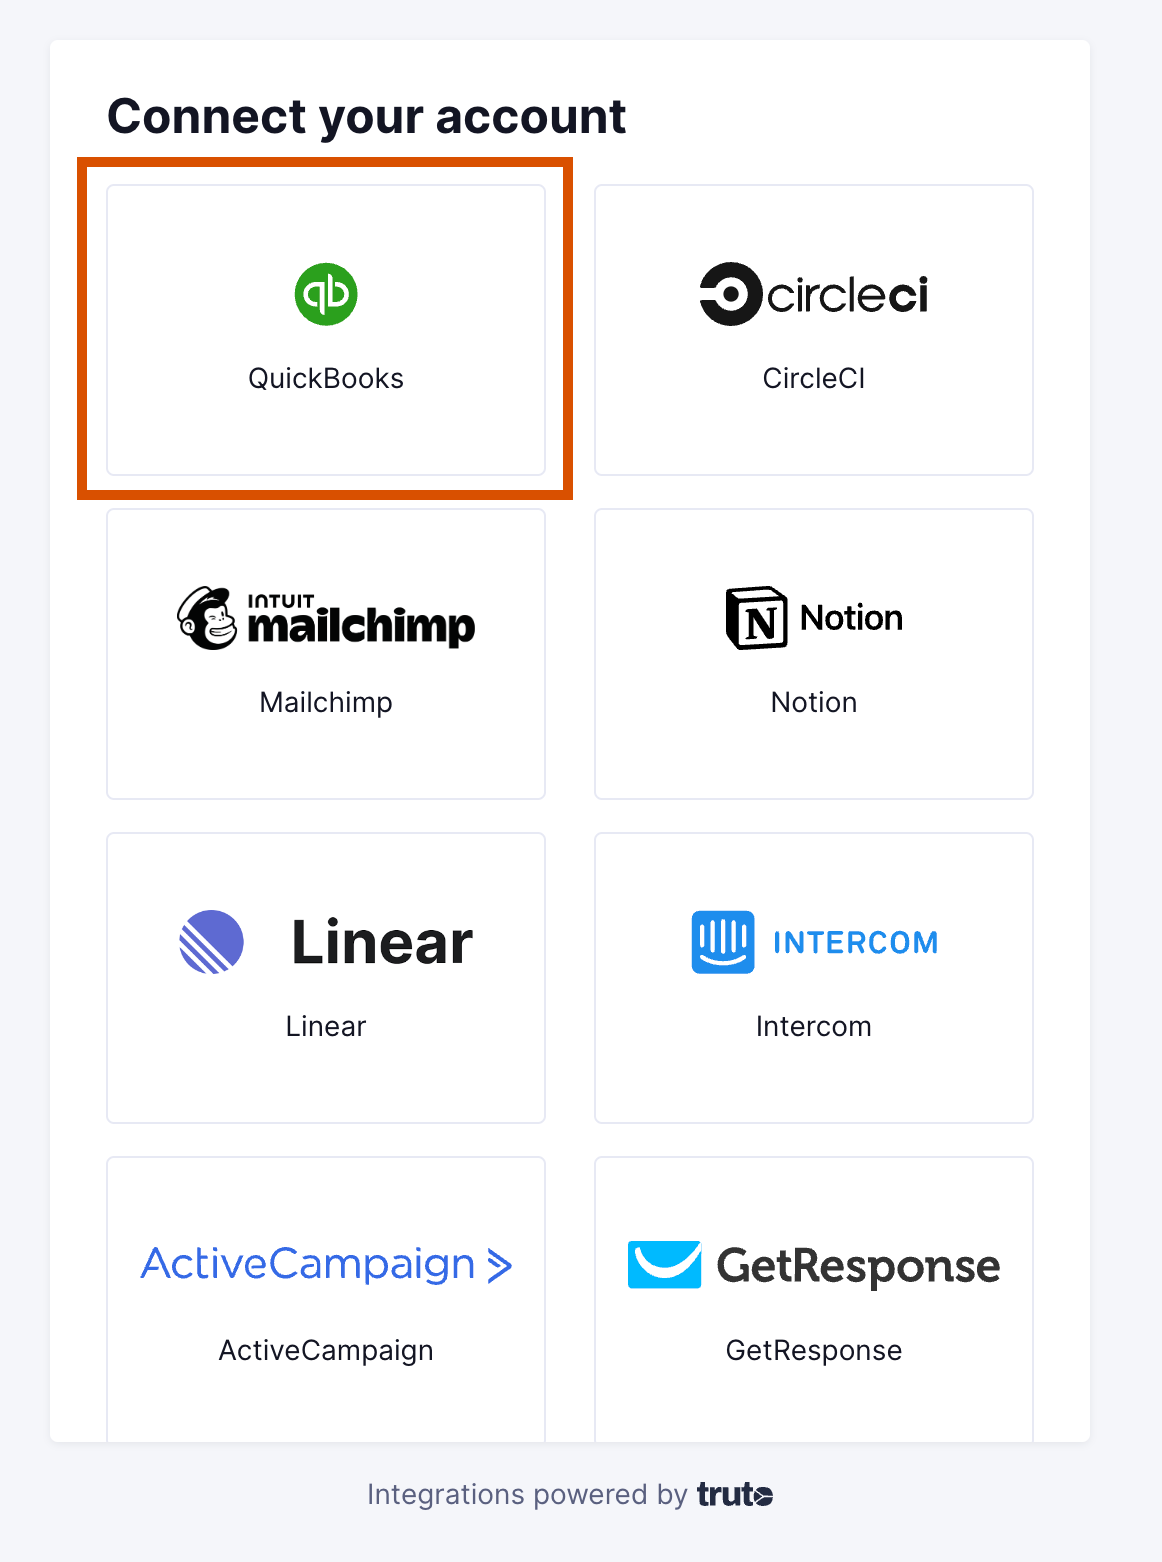
Select QuickBooks
-
You'll now be asked to log in to your QuickBooks account and allow access to Truto. Go through the steps.
-
Voila! You should now see a connection successful message. You can now close this tab.
-
Go to your Truto account, and you should see the new QuickBooks integration under Integrated Accounts. Click on the Account ID to view the details and initiate API calls.