Customizing Integrations on Truto
Once you've installed an integration on Truto, you have the flexibility to customize its configuration to better suit your specific needs. Customizing integrations allows you to override default settings, add new functionalities, and tailor the integration to fit seamlessly within your environment. This page will guide you through the various ways you can customize your integrations.
Overview
Customizing an integration involves modifying its configuration after installation. This can include:
- Overriding OAuth Credentials: Change the OAuth settings to use different authorization servers or credentials.
- Adding Custom RapidForm Configurations: Create customized forms to collect additional user inputs during integration setup.
- Introducing Custom Resources: Add new data resources that are not available in the base integration.
- Environment-Specific Adjustments: Different environments (such as development, staging, and production) may require distinct integration settings. Truto allows you to customize integrations based on the environment to ensure smooth operation across all stages of your deployment.
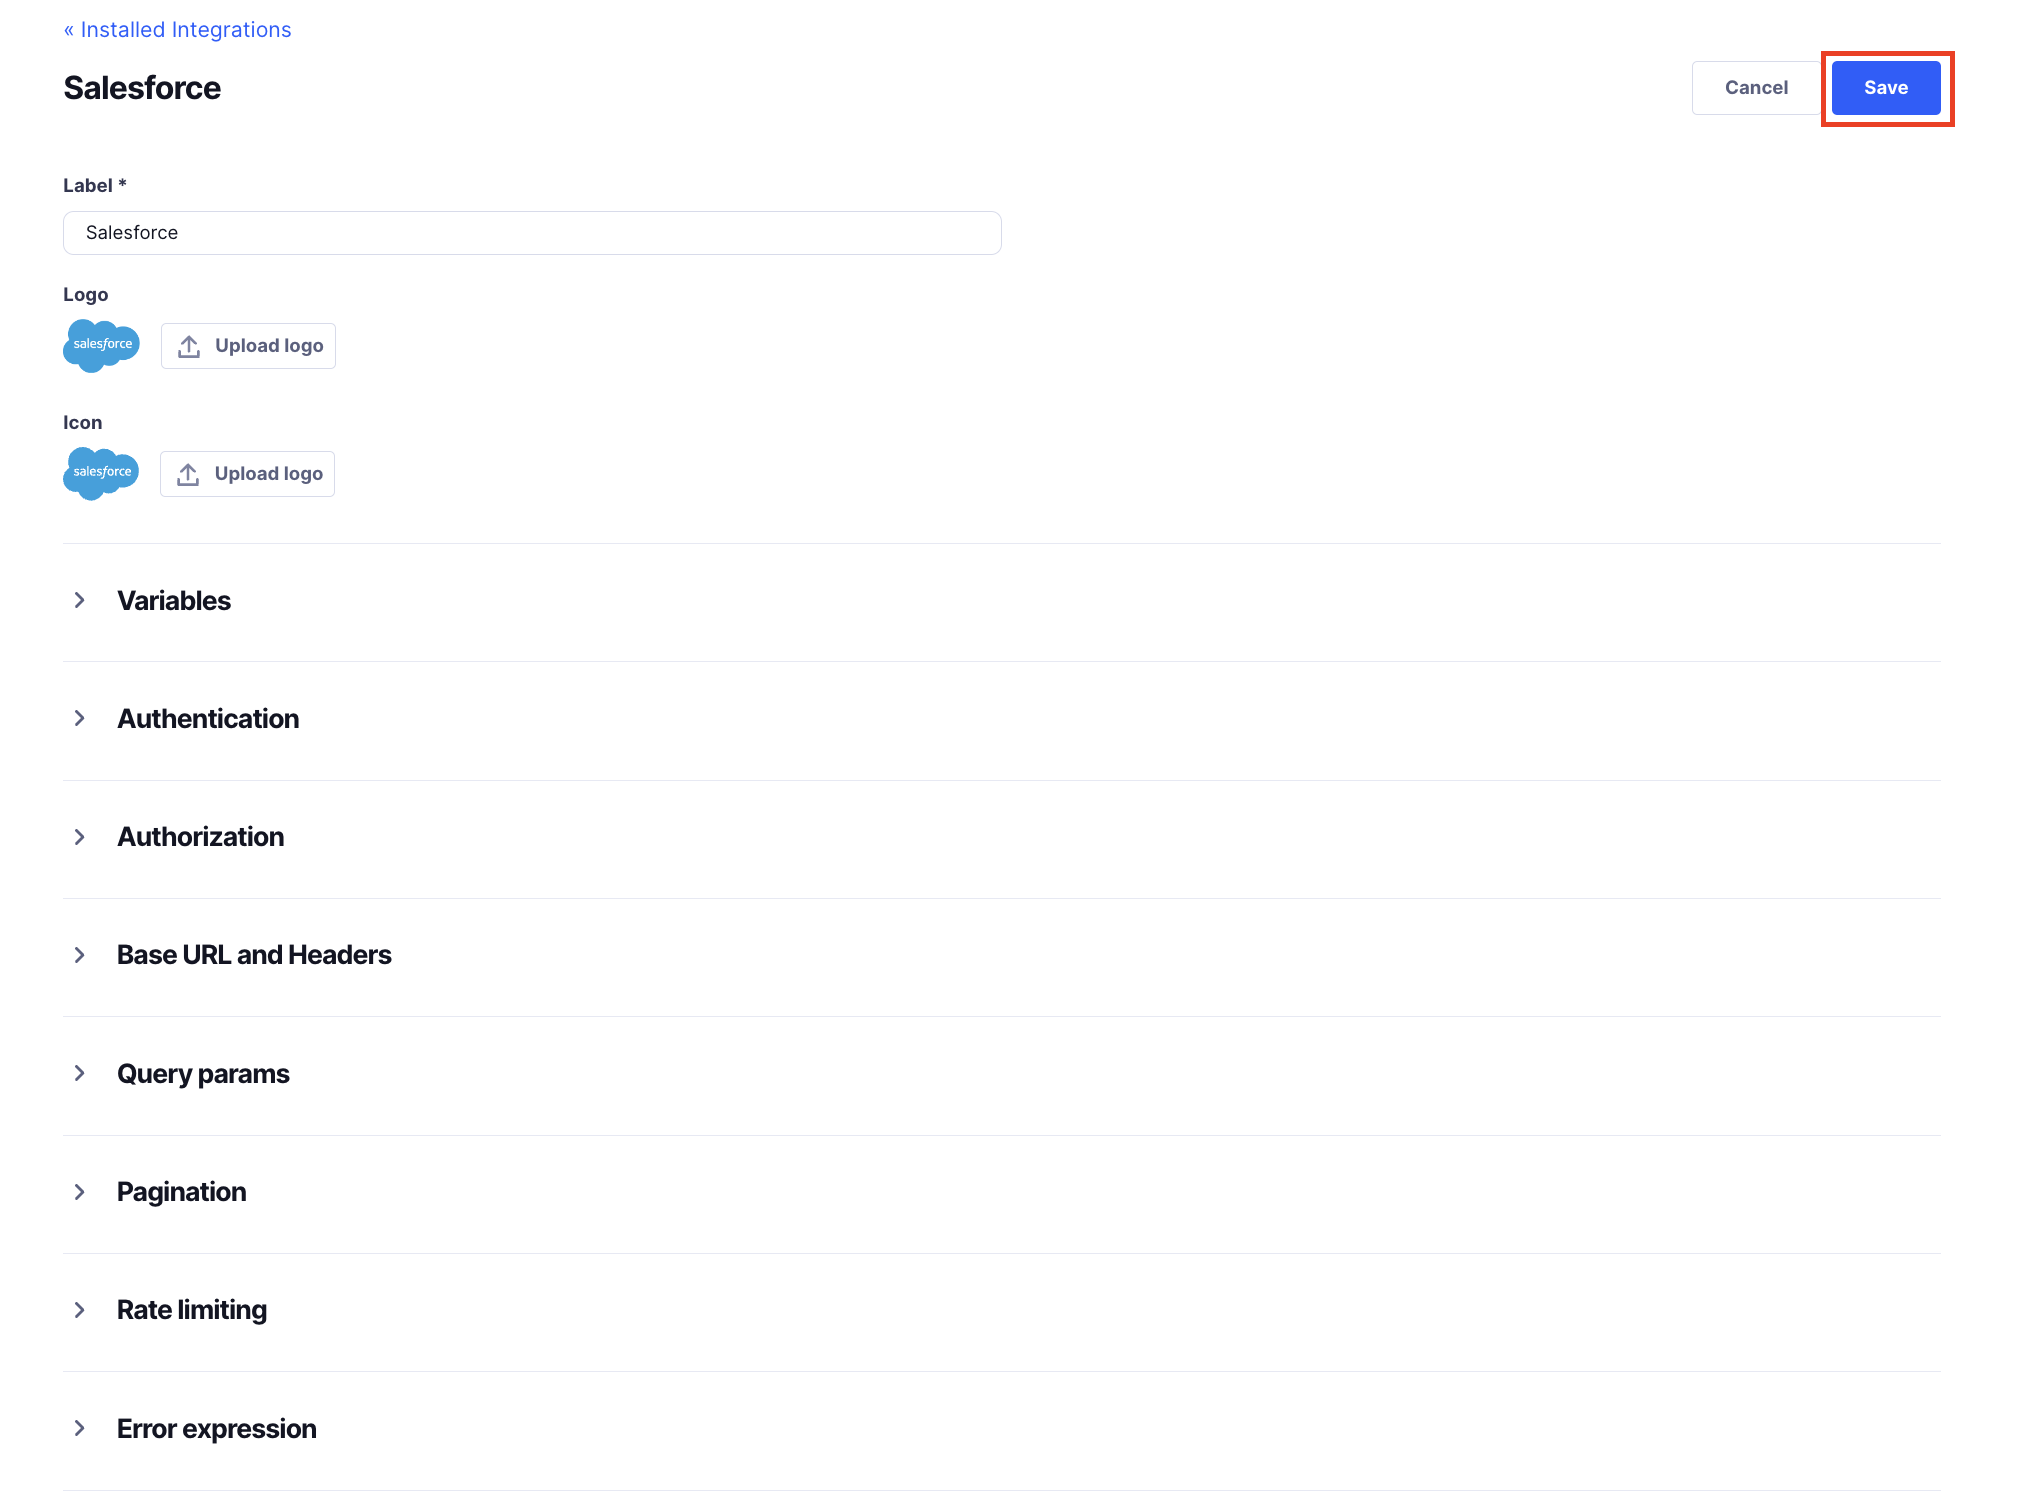
These are just examples of the customization possibilities. Additionally, you can modify other critical aspects of the integration to better align with your specific requirements. To modify, simply go into the Installed Integration of that environment -
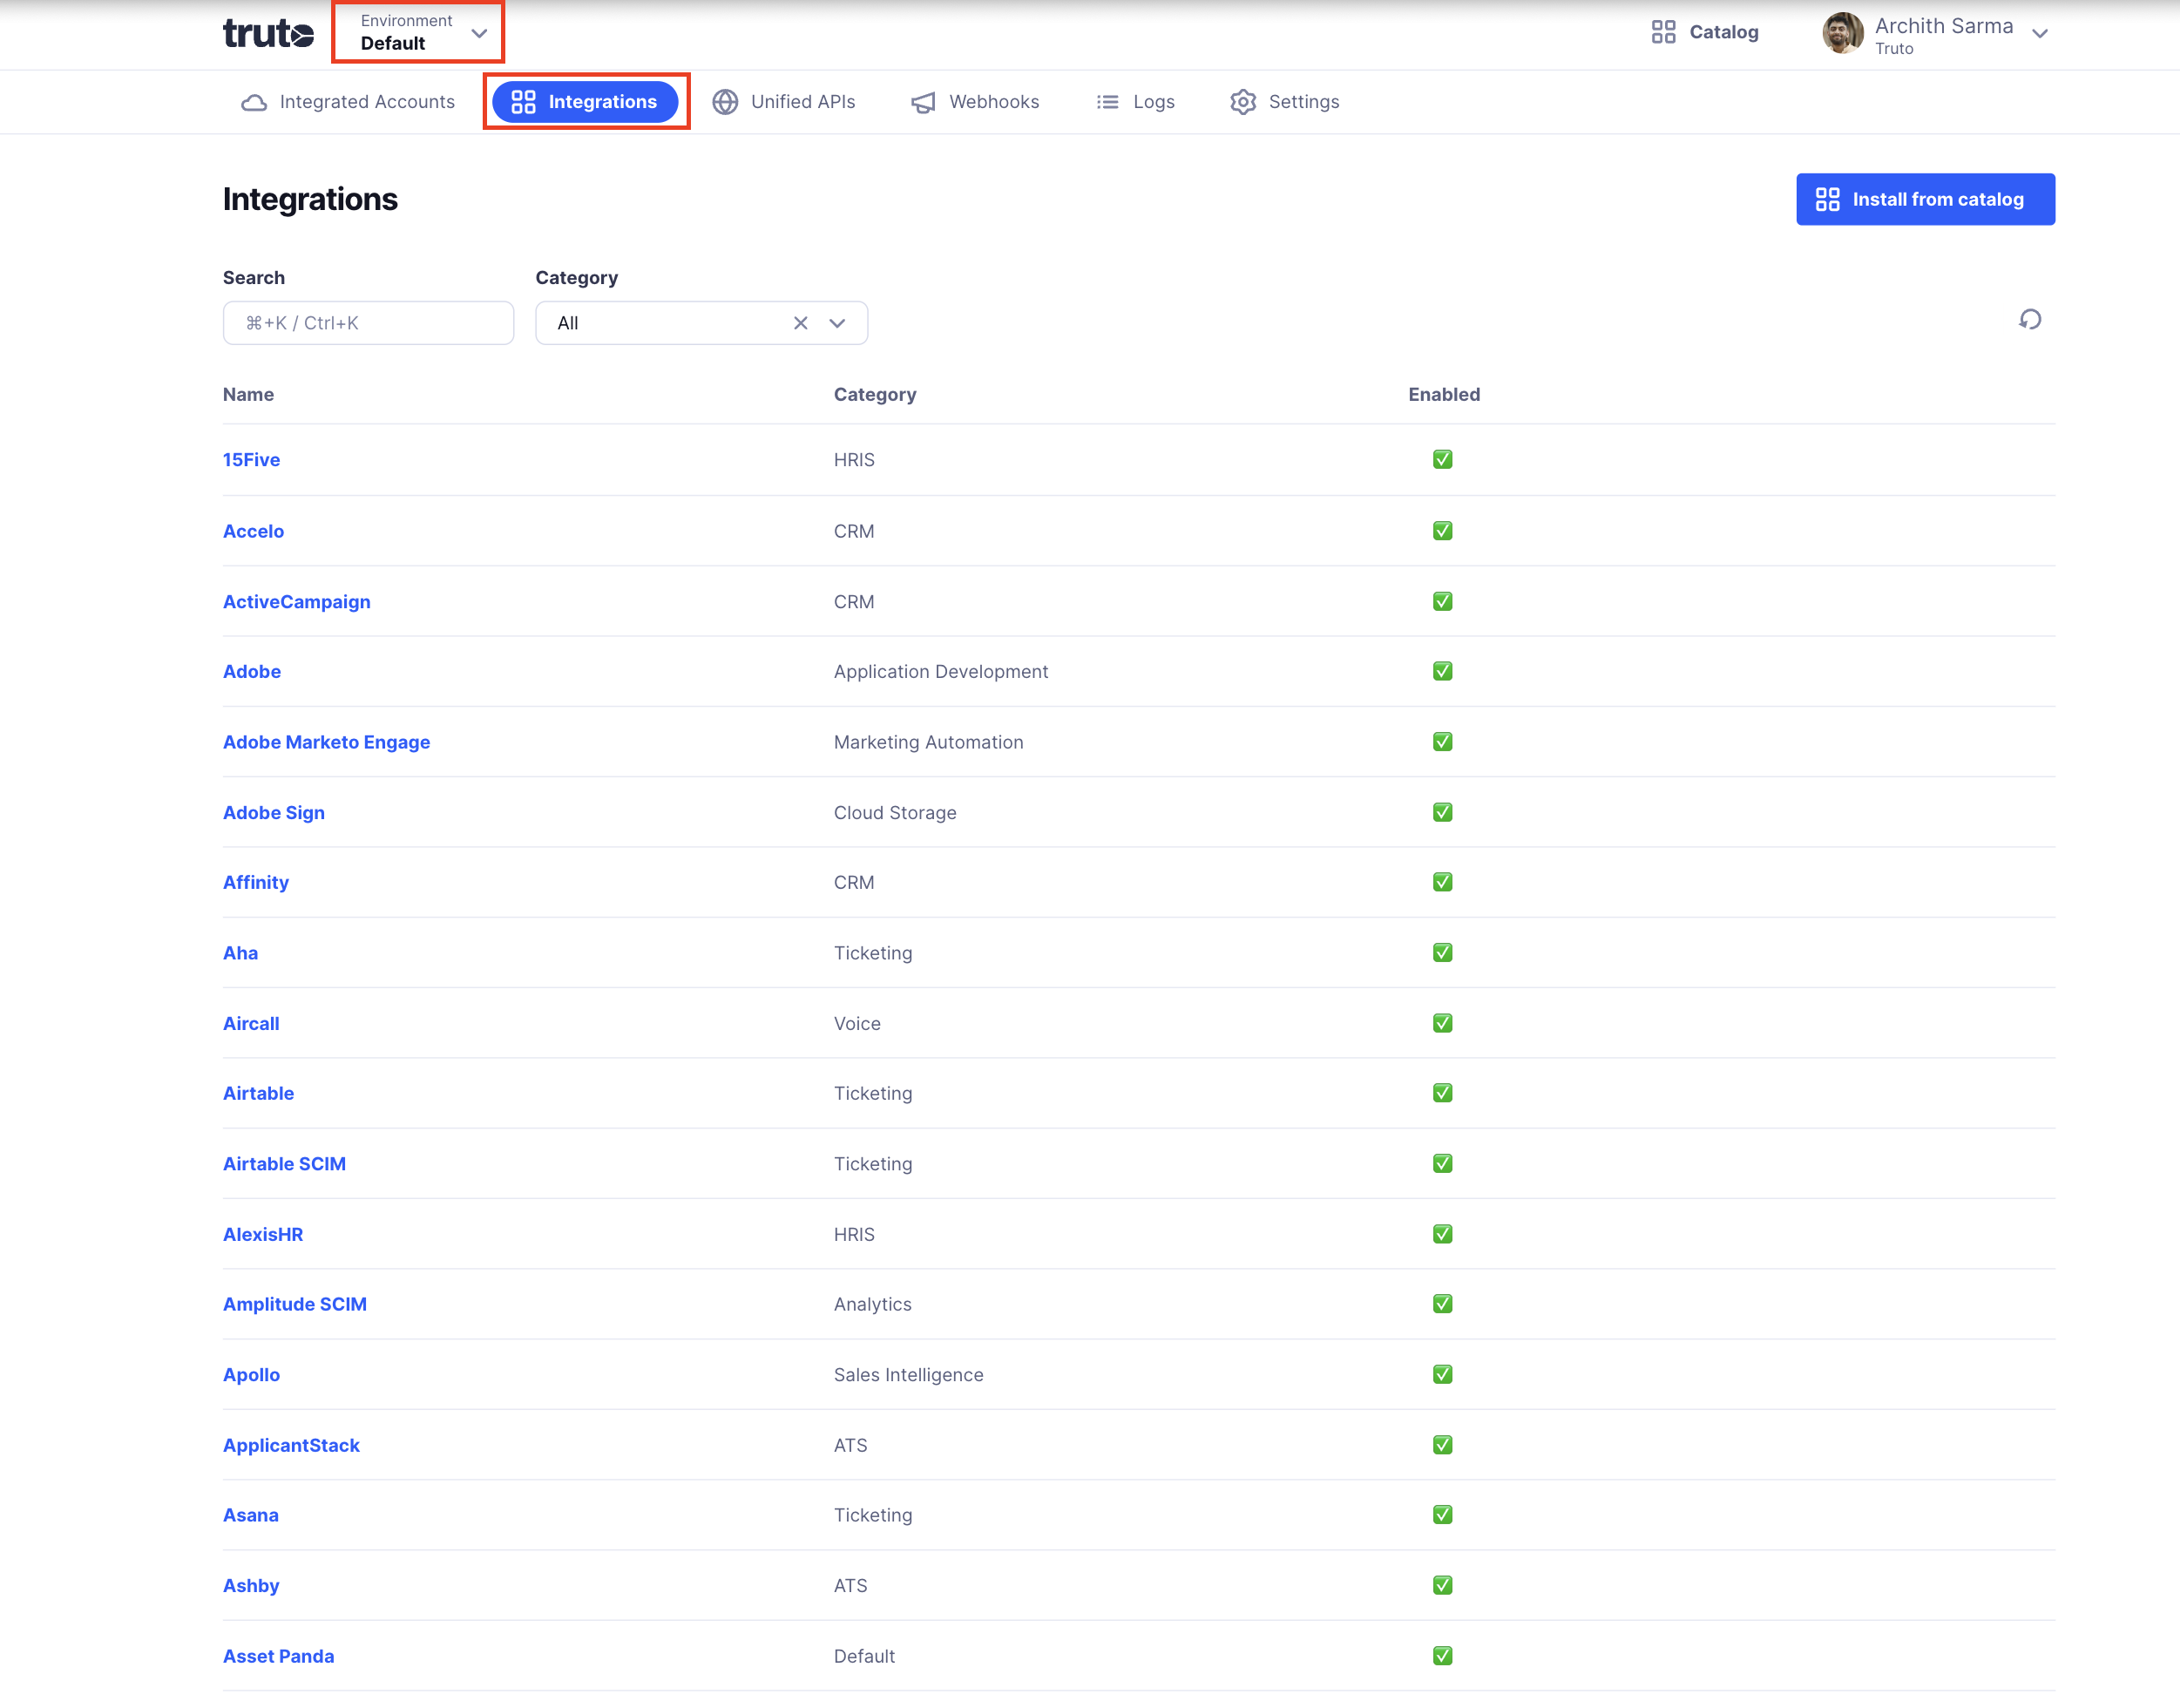
Overriding Integration Configuration
After installing an integration, you can override any of its default configuration fields. This ensures that the integration aligns perfectly with your unique requirements and environment settings.
Overriding OAuth Credentials
OAuth credentials are crucial for securely connecting your integration to external services. Truto allows you to override the default OAuth configuration to use different credentials or authorization servers.
- Authorization Host & Path: Change the authorization server URL and path if you're using a different OAuth provider or a custom authorization server.
- Token Host & Path: Modify the token endpoint to accommodate different OAuth implementations.
- Client ID & Client Secret: Update these credentials to match those provided by your OAuth provider.
For overriding OAuth credentials, visit our Overriding OAuth Credentials Guide.
Adding Custom RapidForm Configurations
Benefits of Custom RapidForms
- Enhanced Data Collection: Gather more specific data tailored to your business needs.
- Improved User Experience: Provide a more comprehensive setup process for users.
For setting up a RapidForm, visit our RapidForm Guide.
Overriding Other Integration Settings
Beyond the examples provided above, you can customize virtually any aspect of an integration's configuration. This comprehensive customization capability ensures that every component of your integration can be tailored to meet your specific needs. The following key areas can also be customized:
- Variables: Modify or add variables to store essential information like API keys, subdomains, and client credentials.
- Authentication: Change authentication methods or update credentials to ensure secure connections.
- Authorization: Adjust authorization types, token handling, and add custom headers to control access permissions.
- Base URL and Headers: Customize the main API endpoint and modify headers to include necessary metadata or authentication tokens.
- Query Parameters: Refine or add query parameters to filter and retrieve specific data from external APIs.
- Pagination: Change pagination methods and settings to efficiently handle large data sets.
- Rate Limiting: Adjust how your integration manages API request limits to prevent exceeding provider constraints.
- Error Expressions: Customize error handling to standardize and clarify error responses from external APIs.
- Resources: Add or modify data resources to interact with additional or specialized data types.
- Actions: Override or add automated tasks that occur after connecting an account to streamline workflows.
- Webhooks: Customize how incoming webhook events are processed and verified to handle real-time notifications effectively.
Taking an example, to customize the Salesforce Integration and to add a new Resource, follow these steps:
Navigate to the Integrations page and click the Edit button for the integration you want to modify.
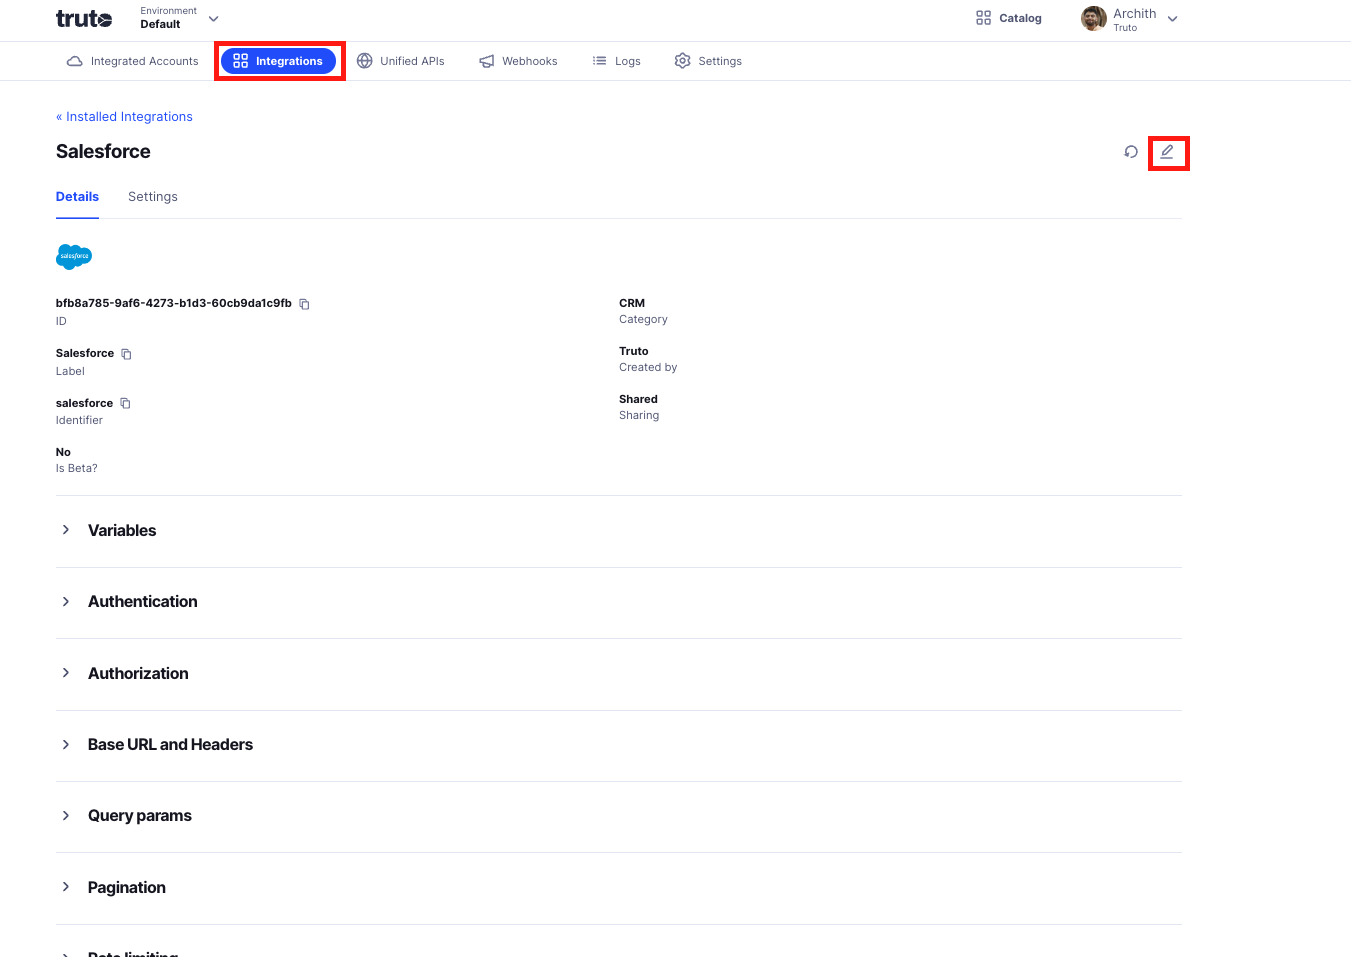
Scroll down to the Resources section and click the Add Resource button.
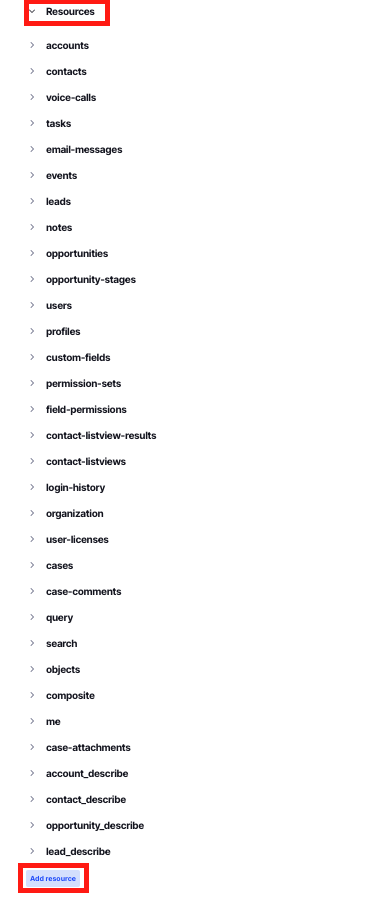
Fill in the details for the new resource:
- Name your resource.
- Select the required endpoints.
- Provide the necessary configuration details.
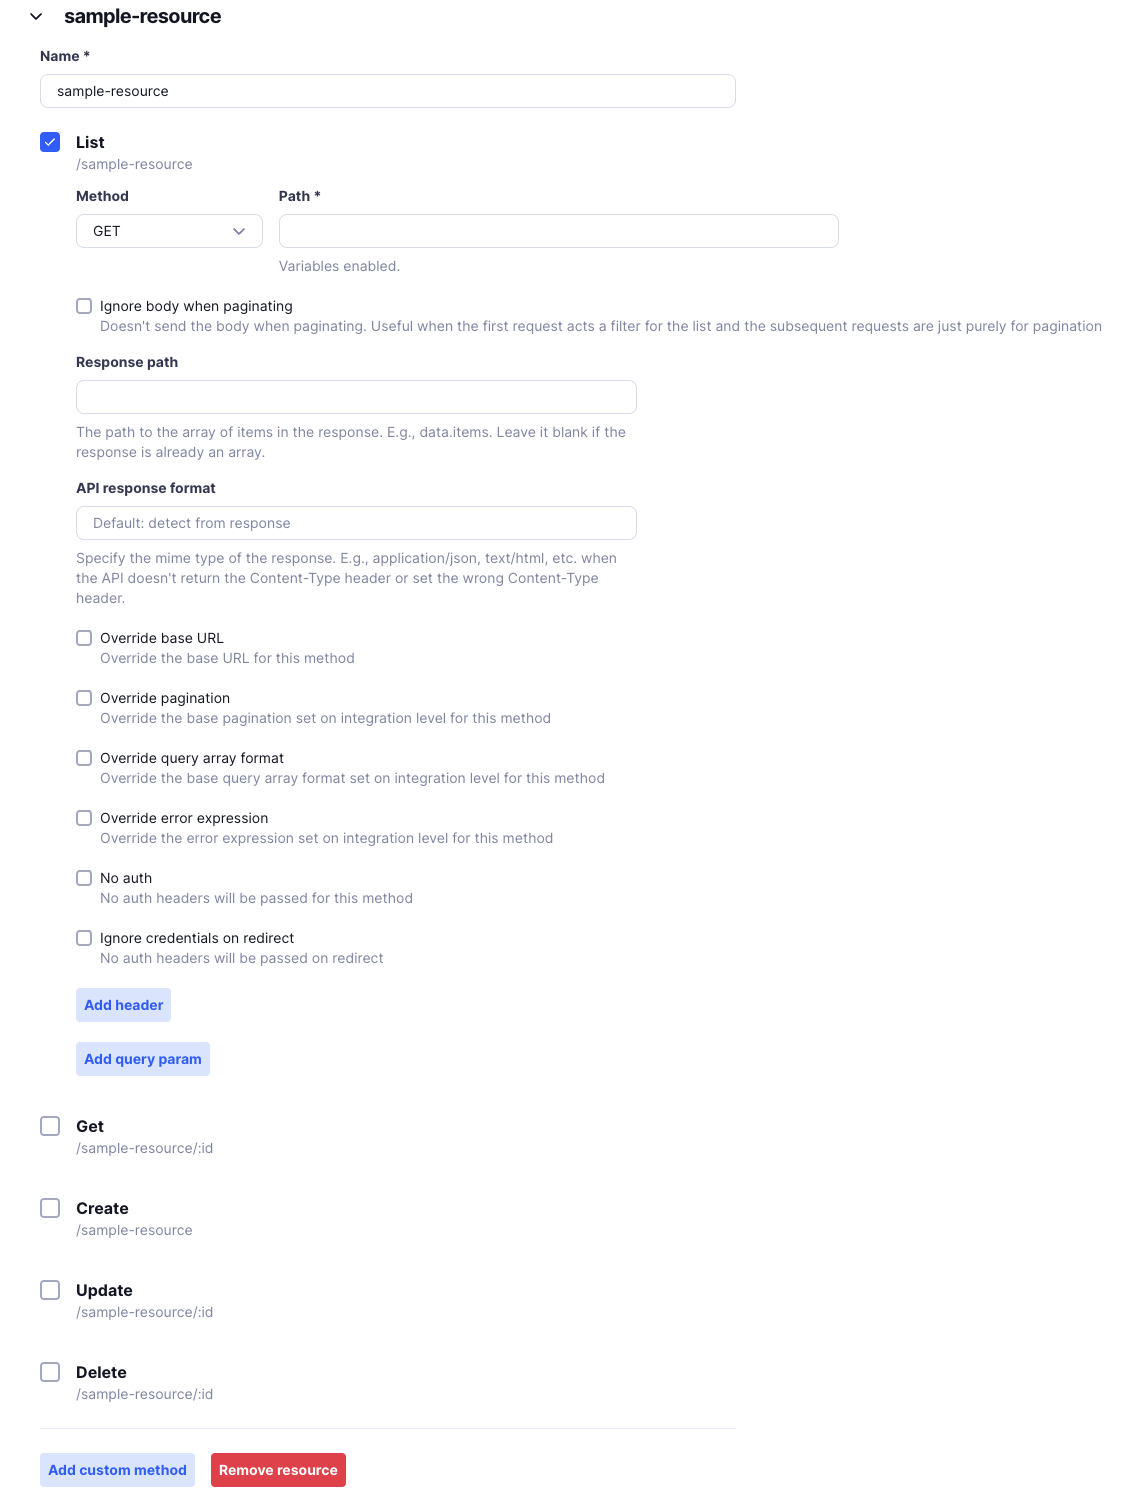
Once you've completed the setup, click the Save button to save your changes.
Your new resource will now be available as part of the Integration for the Environment.

